Understand what a dry rub is, how salt, sugar, and spices work together on meat, and when to use it instead of marinades
What is a Dry Rub?
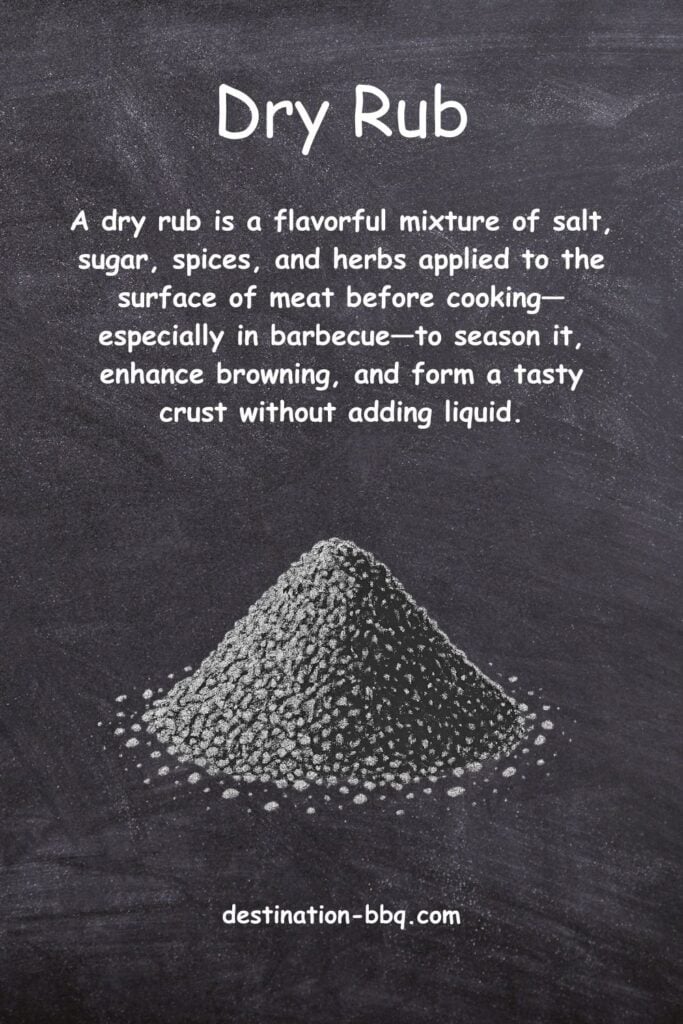
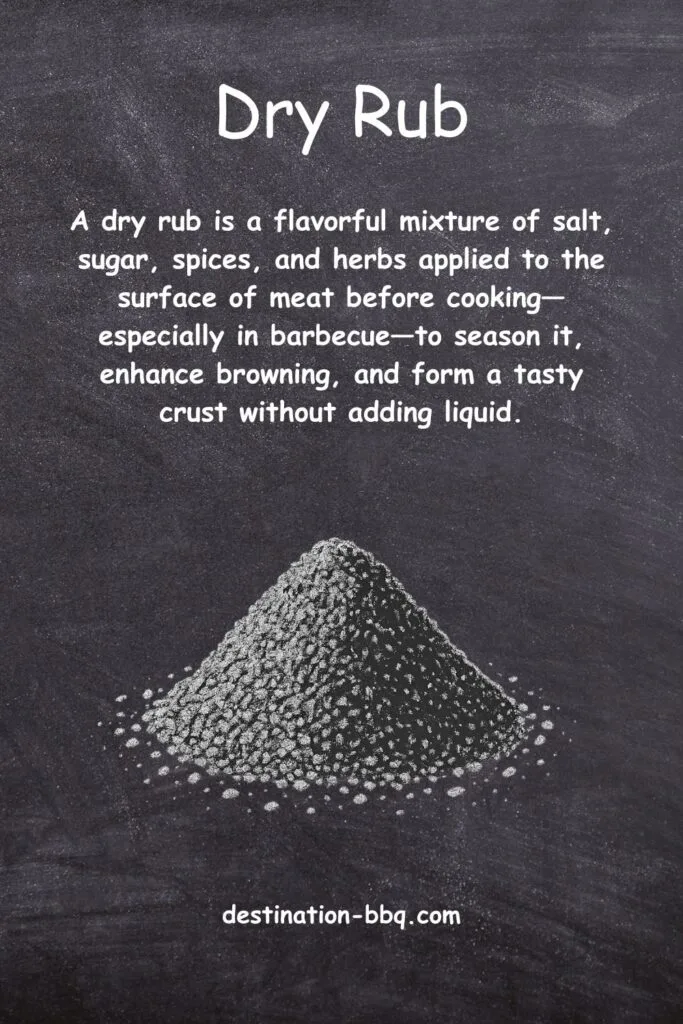
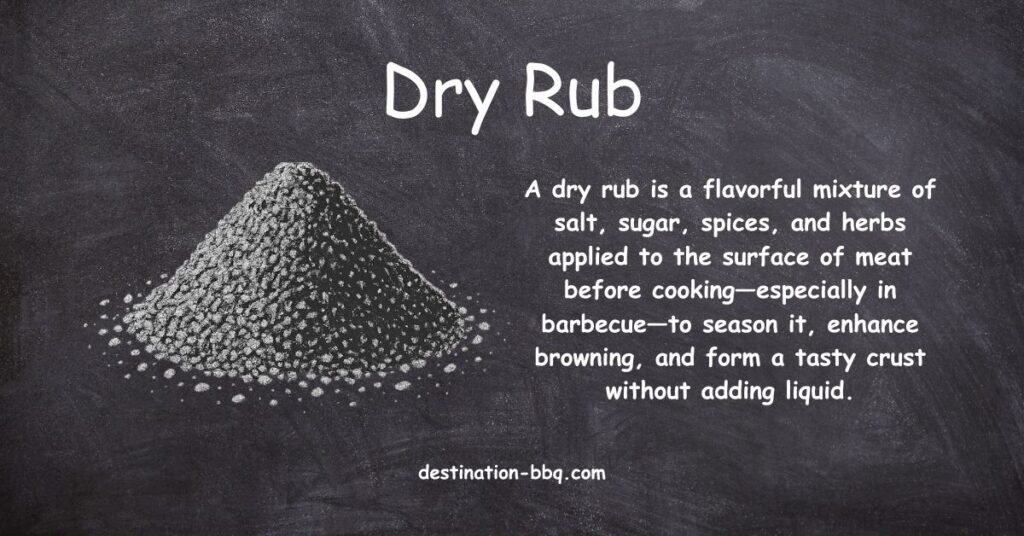
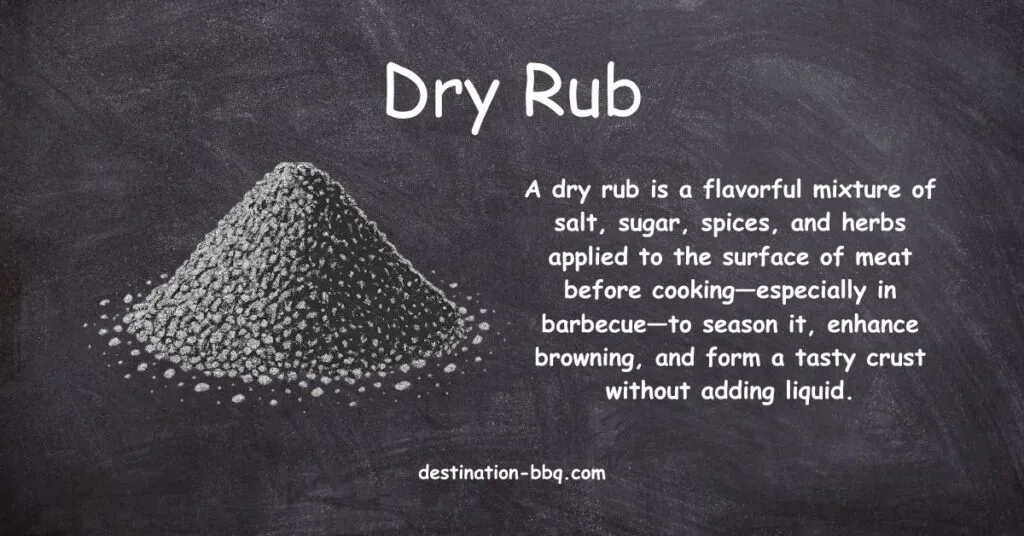
A dry rub is a blend of spices, herbs, salt, and sugar applied directly to the surface of meat before cooking. The rub’s job is simple but important: enhance flavor and help create the crust that defines great barbecue. Because a dry rub contains no liquid, it works almost entirely at the surface. Salt can penetrate inward over time, but everything else in the mix stays near the exterior, where heat and smoke transform it into bark.
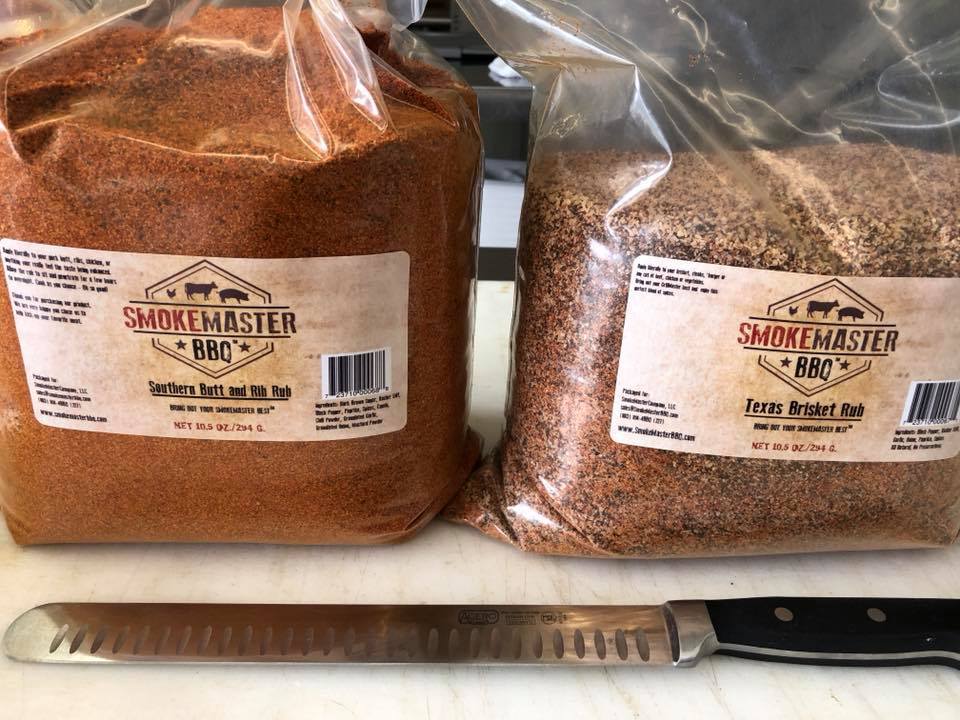
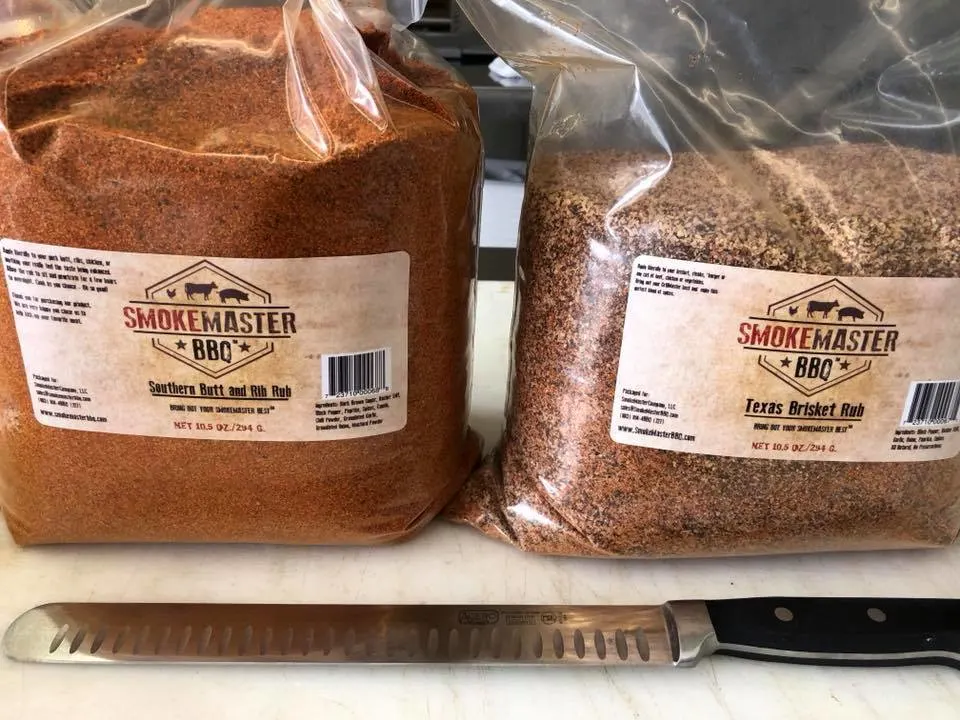
Dry rubs come in a wide range of styles, from minimalist salt-and-pepper on Texas brisket to sweet, complex blends on Memphis ribs. Whatever the recipe, the core idea is the same: let the meat stay the star while the rub supports it, rather than covering it up.
Key Takeaways
- Surface science, not deep soak: In a dry rub, salt can slowly move inward and season meat by weight, but most spices, herbs, and sugars stay on the surface where they brown, fuse with meat juices, and help form bark.
- Regional “philosophies,” not just recipes: Each barbecue region treats rubs differently. Central Texas keeps beef almost bare with a simple Dalmatian rub, while Memphis, Kansas City, and Carolina cooks build more complex blends tuned to their sauces and preferred meats.
- Modern salt strategy: Because salt behaves differently from other rub ingredients, many pitmasters apply it separately as a dry brine, then layer the rest of the rub later. This avoids over-salting enhanced meats, gives better control, and still supports great bark.
- Technique matters as much as recipe: Patting meat dry, choosing binders wisely, allowing time for salt and surface drying, controlling sugar levels at your cook temperature, and avoiding early wrapping all matter to how your rub performs.
Quick-Start: Using a BBQ Dry Rub
- Pat meat dry so the rub sticks and the surface can dry out later for better bark.
- Salt based on meat weight (dry brine), then season with rub based on surface area.
- Start with about 1 tablespoon of rub per pound, enough to coat without caking.
- Press the rub on gently; no need to scrub it in or damage the surface.
- Rest thin cuts 30–120 minutes; let big cuts like pork shoulder or brisket sit several hours or overnight in the fridge, uncovered on a rack.
- Cook at a temperature appropriate for your sugar level and wood choice, and let the bark fully set before wrapping.
Think of the rub as your external spice layer: salt seasons from the inside out, everything else works on the surface.

"Rubs are the basic seasonings of a barbecue -- Simple mixes of salt, sugar and spices or herbs that add complex layers of flavor to your food."
– Steven Raichlen, bestselling barbecue cookbook author and host of PBS's Barbecue University, in How to Grill
Understanding Dry Rub
The Foundation of Barbecue Flavor
Dry rubs aren’t just a casual sprinkle of seasoning; they sit at the center of American barbecue tradition. Long before “barbecue” meant sauce in a squeeze bottle, cooks were using spice blends to season meat for slow cooking over wood.
What makes dry rubs special is their deliberate focus on surface flavor and crust development rather than deep penetration. A good rub should work like a good band: each component has a job, and when they play together, you taste a balanced whole rather than one loud note. The point is not to bury the meat, but to frame its natural flavor with salt, spice, and smoke.
The Science Behind the Magic
This section draws on lab-backed work from Meathead Goldwyn and food scientist Greg Blonder, combined with years of my own cooks of whole hogs and cuts like pork shoulder, turkey, and chicken.
Food science gives us a simple principle that’s easy to remember and easy to misuse: salt penetrates; most other rub ingredients do not.
Barbecue writer Meathead Goldwyn emphasizes: "Salt penetrates, so the amount we apply depends on the weight of the meat. All the other ingredients in a rub are huge molecules that rarely go beyond the pores and cracks in the surface, not more than ⅛" deep."
That one idea reshapes how you think about rub recipes and application.
Salt: The Penetrator
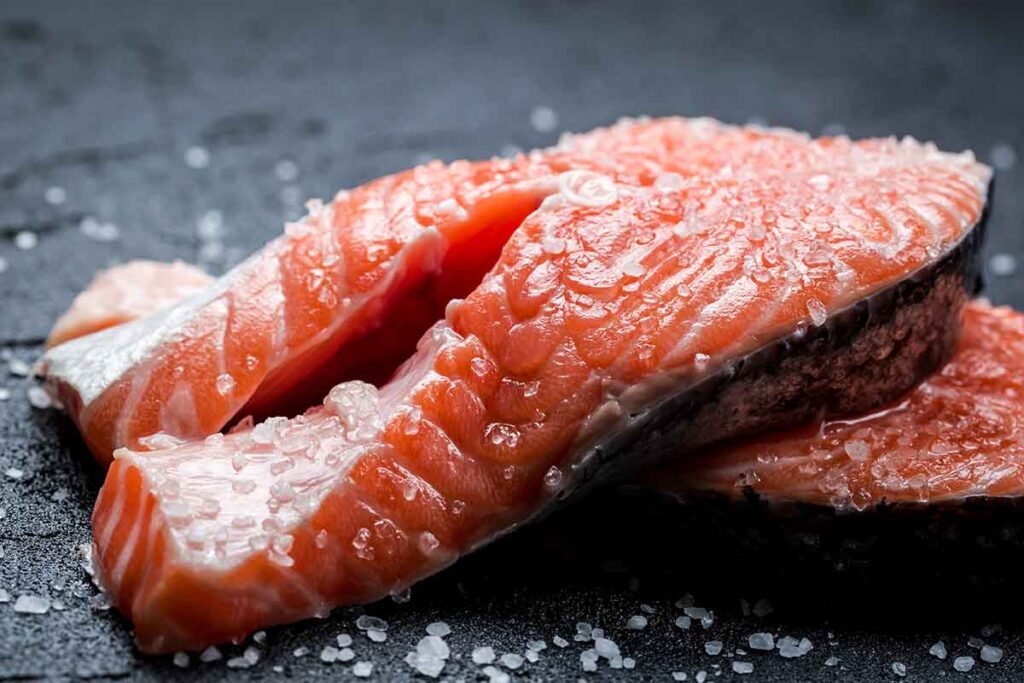

Salt stands alone among rub ingredients because it can migrate inward. Applied ahead of time as a dry brine, salt:
- Dissolves on the meat’s damp surface
- Moves inward over hours through electrochemical reactions
- Can reach up to about an inch into thick cuts with enough time
- Helps proteins hold onto water, improving juiciness and flavor
Because salt works this way, you want to match the amount to the weight and thickness of the meat. A pork shoulder needs more salt than a rack of ribs. A rib roast needs more than a ribeye. The spices in your rub can stay about the same; the salt should not.
Surface Chemistry at Work
Goldwyn also pushes back on a popular myth: “The idea that the spices and herbs swim deep into the meat like migrating salmon is false. The pressure of water within the meat and the diameter of the fibers and capillaries just doesn’t let them in.”
What actually happens on the surface:
- Moisture dissolves water-soluble compounds like salt and sugar
- A gritty slurry forms with ground spices and meat juices
- Fat renders and carries fat-soluble flavors like paprika and garlic powder
- Smoke particles from the fire stick to this tacky layer
Given enough time, heat, and airflow, that slurry dries, browns, and fuses into bark.

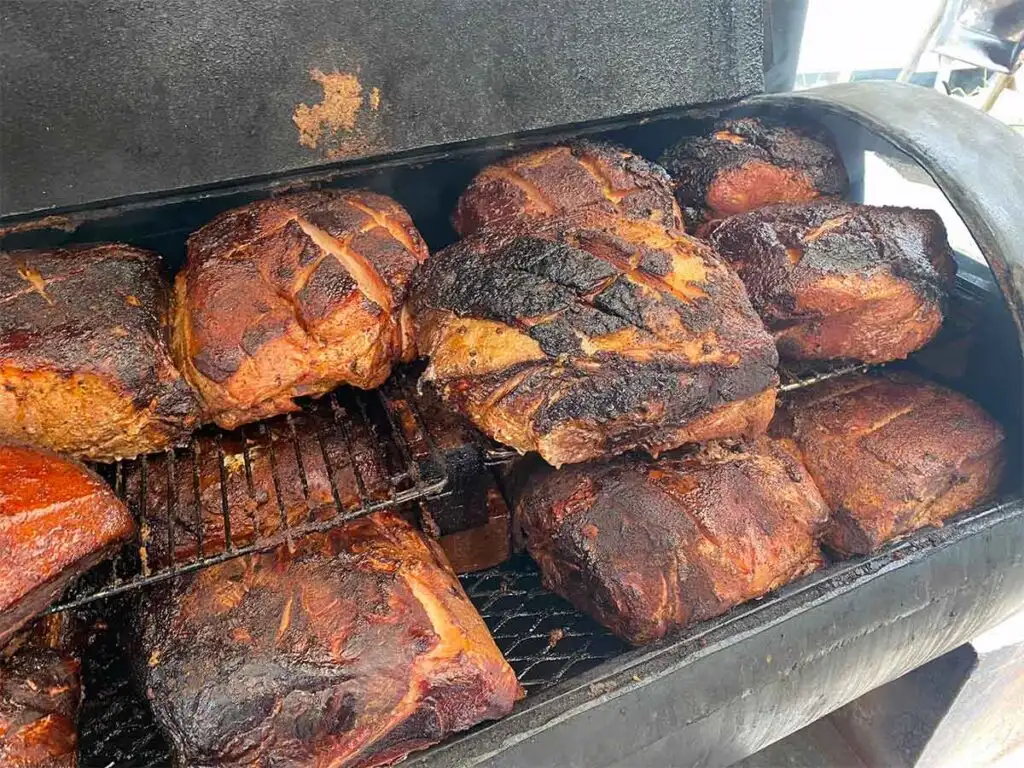
The Maillard Reaction and Bark Formation
Food scientist Prof. Greg Blonder explains the magic: "Turns out bark is a byproduct of complex chemical reactions: The Maillard reaction and polymerization chief among them."
The Maillard reaction is the same browning chemistry that makes a seared steak taste so good. At barbecue temperatures, over a long cook, it works more slowly but in a similar way. Proteins and amino acids on the surface interact with sugars and heat to create hundreds of new flavor compounds and a deep, brown crust.
The DRIP Process
Blonder also coined a term for what happens just under the spice crust. As meat proteins heat up near the surface, they bind and clump into a thin, durable layer called a pellicle. He describes this as Diffusion Restricted Irreversible Polymerization, or DRIP. Once this layer forms:
- It acts like a “skin” beneath the rub
- It helps glue spices and smoke particles in place
- It gives bark that slightly jerky-like bite when you slice through it
In practice, this means a well-handled rub and steady cook can give you a crust that stays attached when you cut the meat instead of flaking off or sliding around.
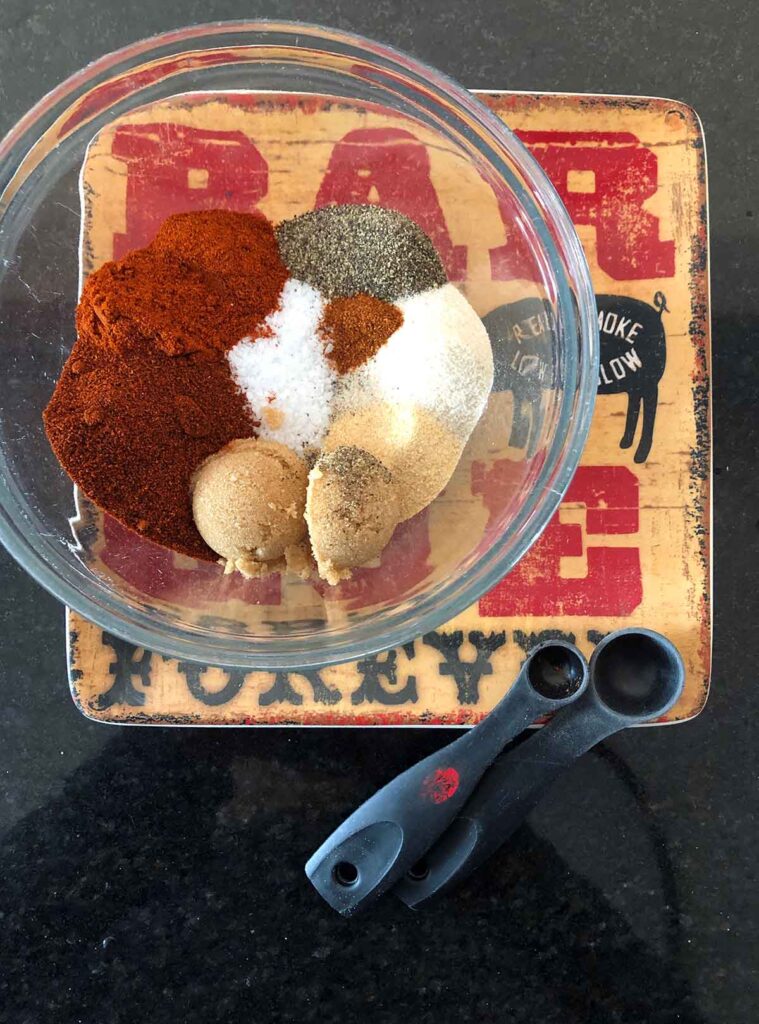
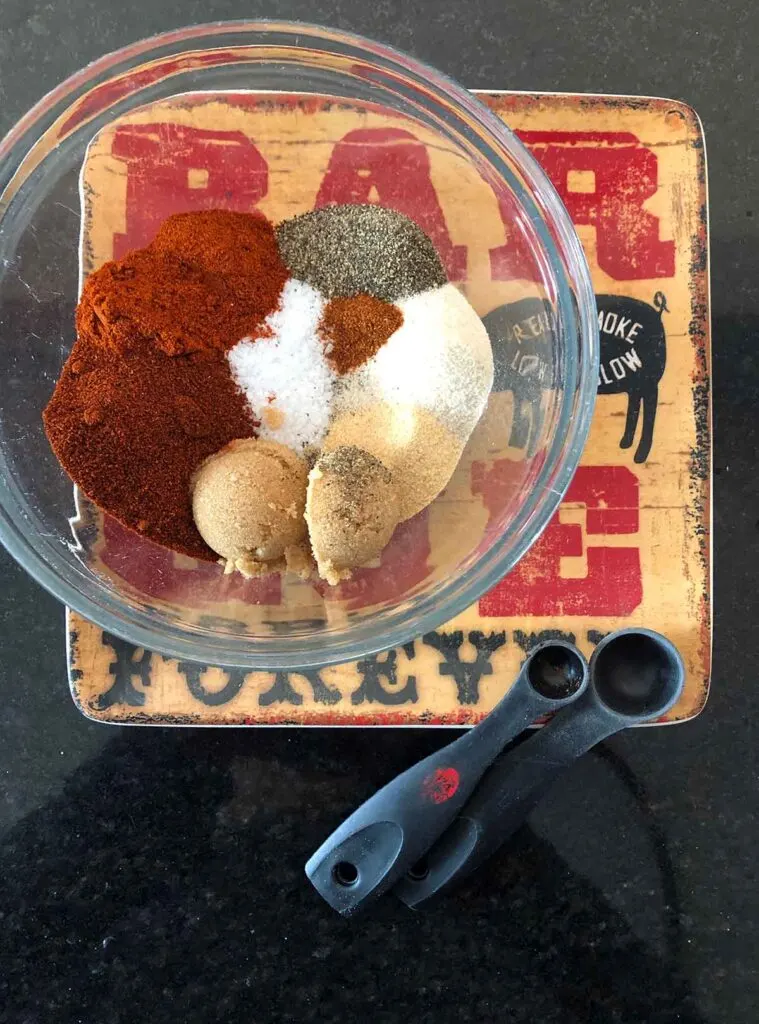
The Five S's: Building a Balanced Rub
A helpful way to think about rub design is the “Five S’s.” Each category has a job, and the balance shifts depending on the meat and region:
- Sugar: Adds sweetness, aids browning, helps crust formation, and balances bitterness and acidity. Many barbecue rubs lean on brown sugar or turbinado for both flavor and texture. Sugar is also hygroscopic; it pulls water to the surface and helps form that initial slurry with spices.
- Salt: Either in the rub or applied separately, salt is almost always present. It’s the main driver of internal seasoning and moisture retention.
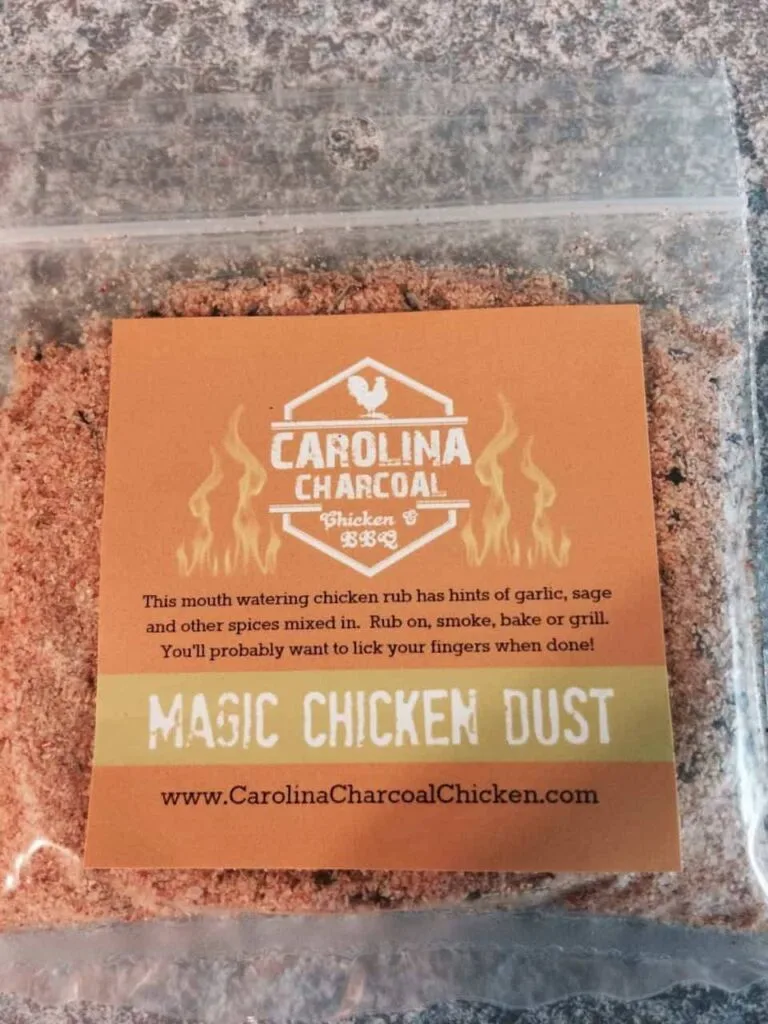
- Savory: Ingredients like garlic powder, onion powder, and some herbs provide umami depth and round out the meat’s natural flavor.
- Spices and Herbs: Paprika, chili powders, cumin, oregano, and others build character. Paprika often does more for color than flavor. Mesh size and coarseness affect texture and how the bark feels on the tooth.
- Spicy: Black pepper, cayenne, chipotle, mustard powder, and similar ingredients add heat. How much you use depends on your audience and the meat. Beef can handle more black pepper than a delicate piece of chicken.
Pulled pork often leans a little sweeter, with more sugar and paprika. Brisket rubs usually keep sugar low and push coarse black pepper forward. Chicken rubs often benefit from more herbs and moderate sugar.

Regional Styles: A Map of American Flavors
American barbecue regions didn’t just invent different sauces; they developed distinct rub philosophies around local meats, wood, and taste. Understanding these regional approaches helps appreciate the diversity of American barbecue tradition.
| Region | Typical Meats | Rub Profile | Key Ingredients | Sauce Relationship | Wood Preference | Overall Philosophy |
|---|---|---|---|---|---|---|
| Memphis | Pork ribs, pork shoulder | Balanced sweet-savory with moderate heat | Brown sugar, paprika, garlic, onion, cayenne, celery seed | Dry ribs served without sauce; seasoning must carry the dish | Hickory | Layered flavor without overpowering the meat |
| Central Texas | Beef brisket, beef ribs | Minimalist, pepper-forward, low sugar | Coarse black pepper, kosher salt, occasional garlic | Sauce seldom used; meat quality stands on its own | Post oak | Let the meat and smoke lead; rub is only support |
| Kansas City | Pork ribs, burnt ends, chicken | Sweet, paprika-rich, layered spices | Brown & white sugar, paprika, chili powder, garlic, onion | Built to pair with thick, sweet tomato-molasses sauces | Hickory | Big, bold seasoning that complements heavy sauces |
| Santa Maria | Tri-tip, top sirloin | Simple, savory, herb-leaning | Salt, black pepper, garlic, oregano | Typically served with salsa or beans, not heavy sauce | Red oak | Clean seasoning that highlights beef and red oak smoke |
| Carolina | Pork shoulder, whole hog, ribs | Paprika-pepper blends with restrained sweetness | Paprika, black pepper, cayenne, garlic, onion | Rub tuned to vinegar-pepper or mustard sauces | Varies; often oak or hickory | Rub supports the sauce rather than dominates |
Memphis Style: The Balanced Approach
Memphis is best known for dry ribs served without sauce. As barbecue historian Jim Auchmutey notes in Smokelore, “Memphis became famous for its dry ribs, where the seasoning had to carry the entire flavor load since no sauce was applied.”
Typical Memphis rubs feature:
- Brown sugar for sweetness and caramelization
- Paprika for color and gentle pepper notes
- Garlic and onion powder for savory depth
- Cayenne for controlled heat
- Often celery seed and dry mustard
The goal is a balanced, layered rub that can stand on its own without sauce.
Central Texas Style: Minimalist Philosophy
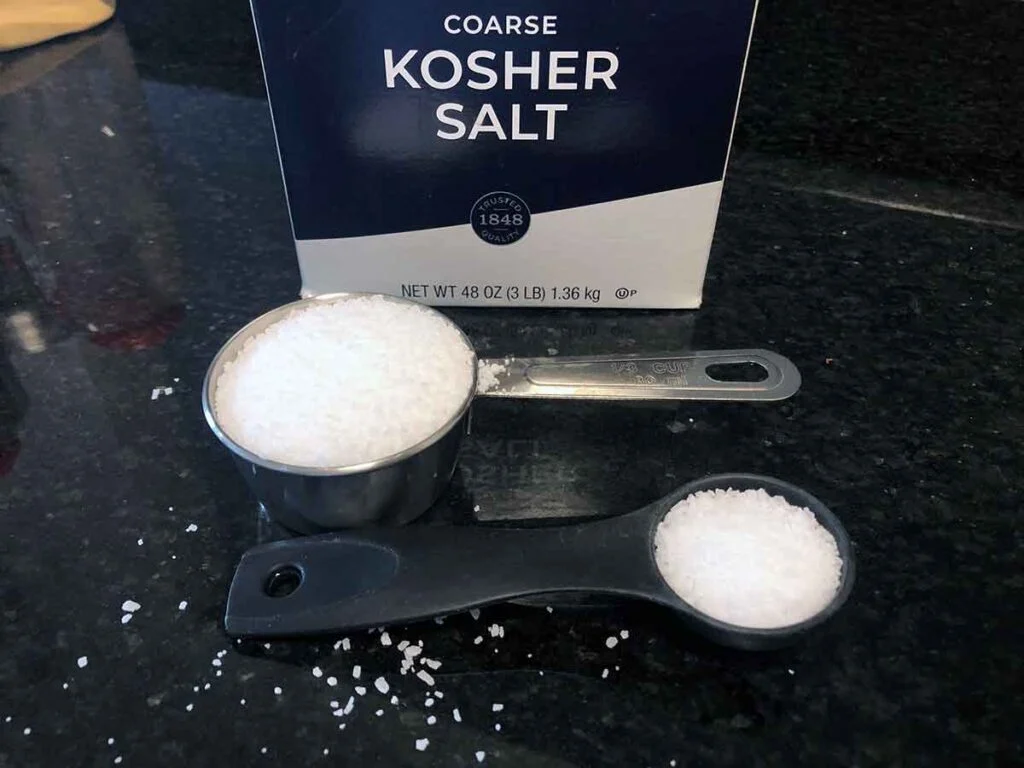
In Central Texas, the classic brisket rub is the Dalmatian rub: coarse black pepper and kosher salt, sometimes with a hint of garlic powder. That’s it. This reflects the state's cattle ranching heritage and unwavering belief in beef quality.
As pitmaster Aaron Franklin explains, “Salt and pepper. That’s it. You don’t want to mask the flavor of good beef — you want to enhance it.”
Core elements:
- Coarse-ground black pepper (often 16-mesh)
- Kosher or coarse sea salt
- Sometimes minimal garlic powder
- No sugar (purists consider this heresy)
Here, the rub’s job is mostly to sharpen the natural flavor of well-raised beef and to support thick, rugged bark.
Kansas City Style: Sweet and Saucy
Kansas City rubs skew sweeter to match the region’s thick, molasses-heavy sauces. Common traits include:
- Plenty of brown sugar (sometimes white sugar, too)
- Paprika and chili powder for color
- Long ingredient lists with layered spices
- Moderate heat, dialed back to keep the sweetness front and center
The rub and sauce are designed to work as a team.
Santa Maria Style: California's Contribution
On California’s Central Coast, Santa Maria tri-tip is built on simplicity:
- Salt, black pepper, and garlic form the core
- Oregano and onion powder appear in some versions
- The meat is cooked over red oak, which becomes a defining flavor
Here, the meat and wood do most of the talking; the rub is clean and direct.
Carolina Perspective: Rubs That Respect the Sauce
In South Carolina and neighboring regions, rubs often play a supporting role to distinctive sauces. Mustard-based sauces call for rubs that won’t clash with tangy, savory notes, while vinegar-pepper sauces can handle more black pepper and less sugar.
Dry rubs in this context are often tuned to:
- Keep sugar levels sensible so meat doesn’t taste like dessert when paired with sauce
- Use paprika and pepper for color and bite
- Leave room for the sauce to finish the flavor
Wherever you’re cooking, dry rubs set the flavor. The right smoke wood amplifies it. If you want to explore which woods pair well with different meats and rub styles, see our BBQ Wood Selector.
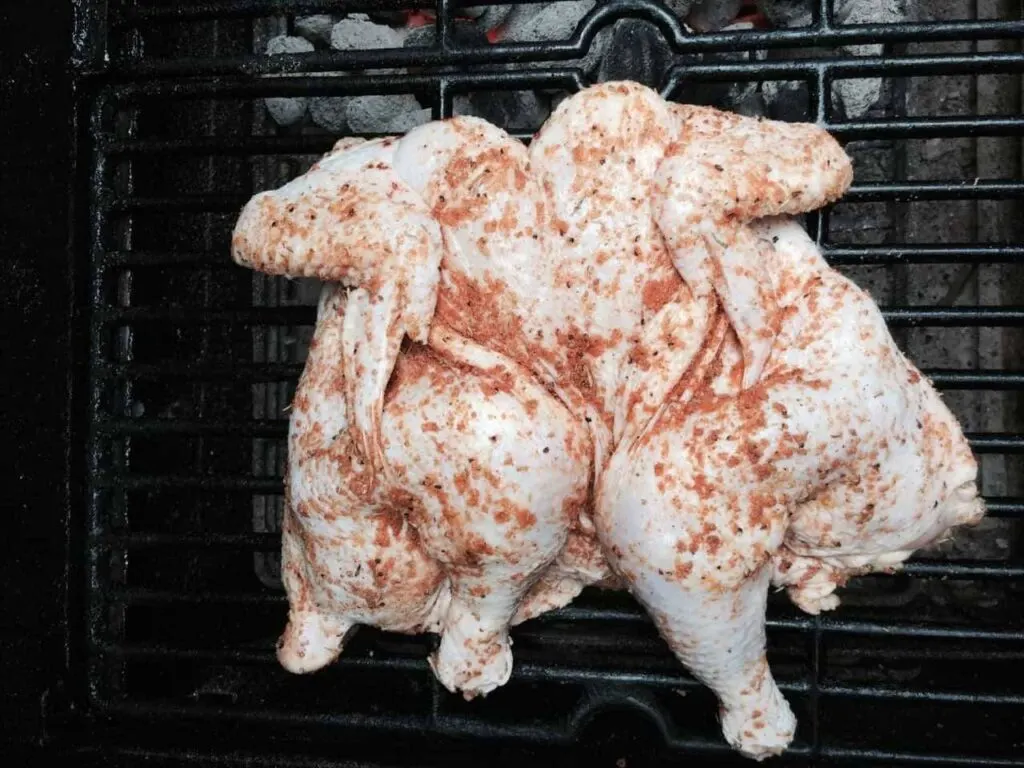
How to Apply a Dry Rub

The word “rub” itself has led to a persistent myth that you need to aggressively work the mixture into the meat.
Goldwyn dismisses that idea: “There is a popular myth that you should not rub a rub, that you should sprinkle it on because rubbing it in cuts the surface and juices will run out. Humbug.” The surface has already been cut during butchering; gentle pressure isn’t going to drain your brisket.
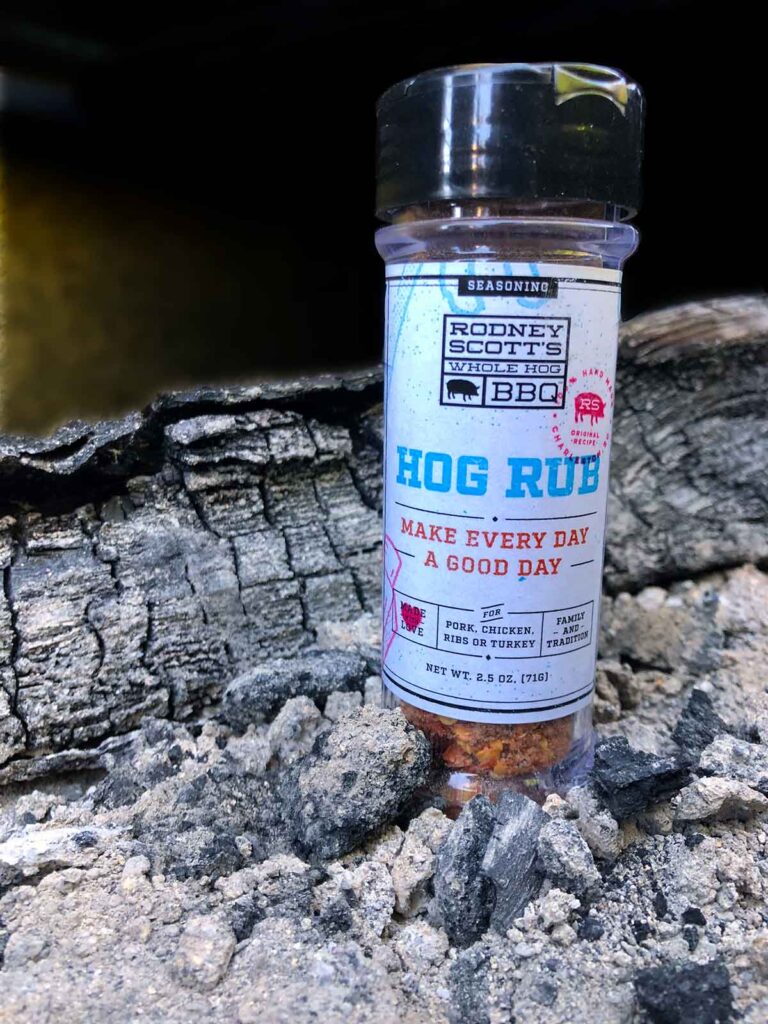
On the other hand, Rodney Scott warns those who use his rubs not to rub them in. “Don’t rub it in,” Scott insists. “You rub it, and you bite into it, it’s salty.”
So, it can depend on the particular rub and the results they deliver based on its ingredient profile.
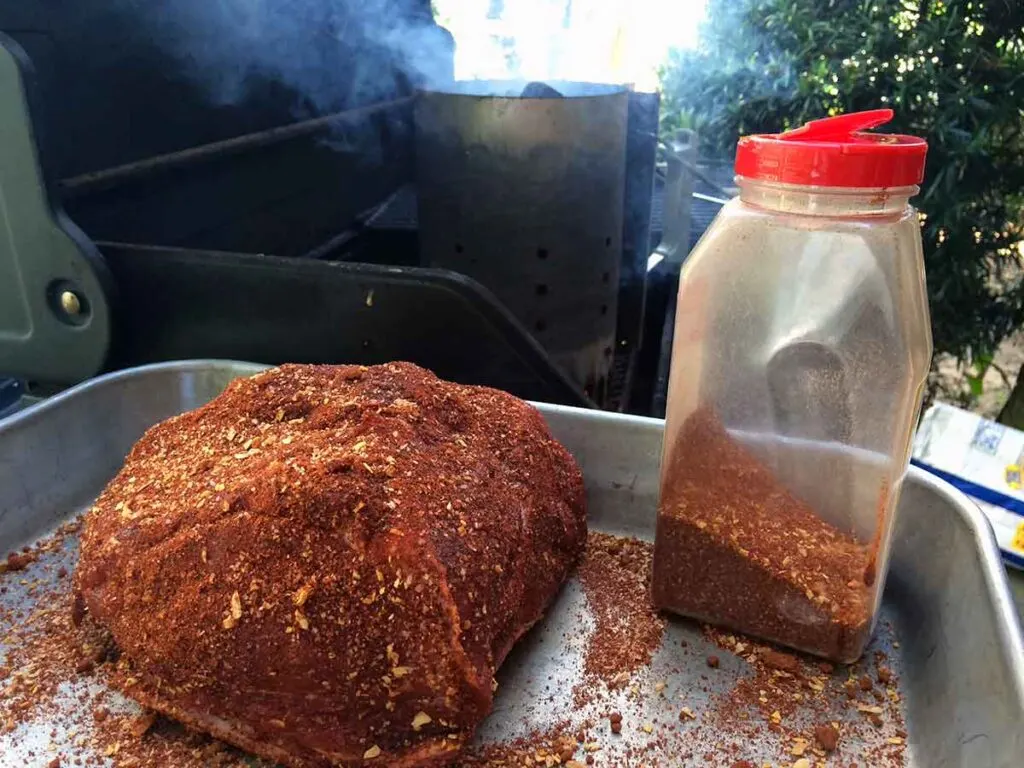
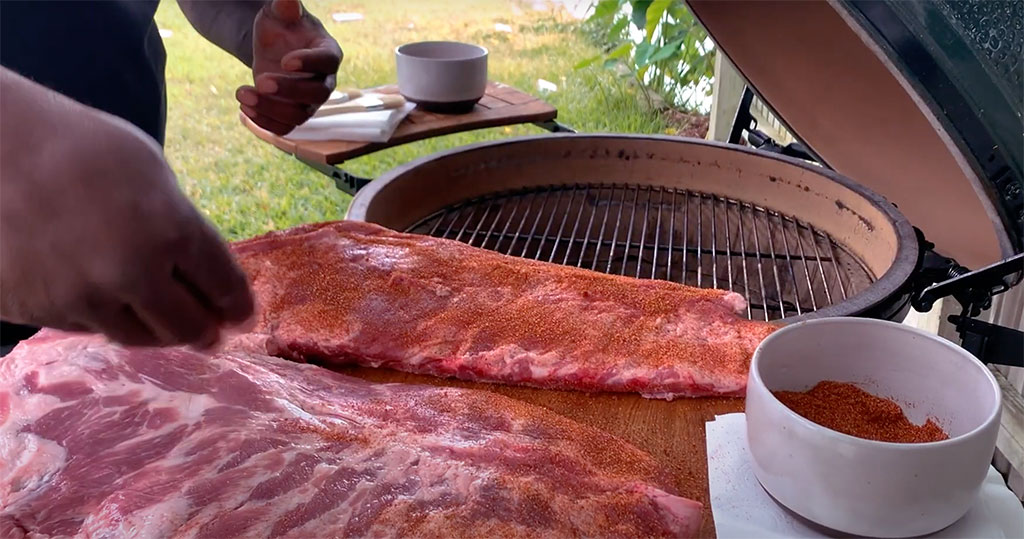
Regardless of your dry rub's impact, a professional-style approach for applying any rub looks like this:
- Measure out what you need before you touch raw meat. Spoon a portion into a small bowl and seal the main container.
- Pat the meat dry with paper towels so the rub can grab hold.
- Apply salt first if you’re dry brining, based on the meat’s weight.
- Shake or sprinkle the rub from a height so it falls evenly, coating all sides, edges, and any folds.
- Press lightly with your hand to help it stick. No scrubbing needed.
- Keep one hand “clean” for seasoning and the other “dirty” for handling meat so you don’t contaminate your rub supply.
As a starting guideline, about a tablespoon of rub per pound is enough to coat most cuts without creating a muddy layer. Adjust up or down as you get a feel for your recipe and grind.
The Separation Strategy: Salt vs. Everything Else

Modern barbecue science suggests a simple change in workflow that pays off quickly: treat salt separately from the rest of the rub.
Goldwyn describes this as dry brining: “Applying the salt separately and in advance is a very important technique called dry brining.”
Why separate salt?
- Salt needs to match meat weight and thickness
- Spices and sugar are applied to surface area
- Many store-bought meats are already “enhanced” with salt solutions
- Not everyone at the table wants the same salt level
By salting ahead and rubbing later, you can:
- Keep salt in your control, even with pre-brined meats
- Avoid over-salting when using commercial rubs that are half salt by volume
- Add finishing salt at the table for those who want more, without overloading the whole cook
In practice, that might look like salting a pork butt 12–24 hours ahead based on weight, resting it uncovered on a rack in the fridge, then applying your sugar-heavy rub closer to cook time.
Binders: When and Why
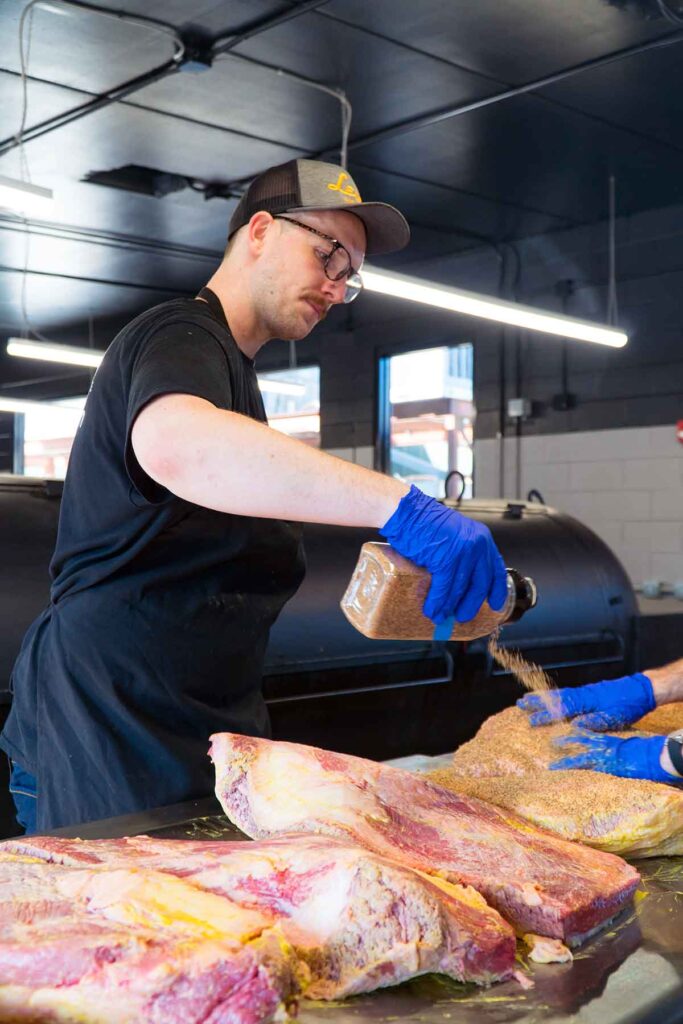
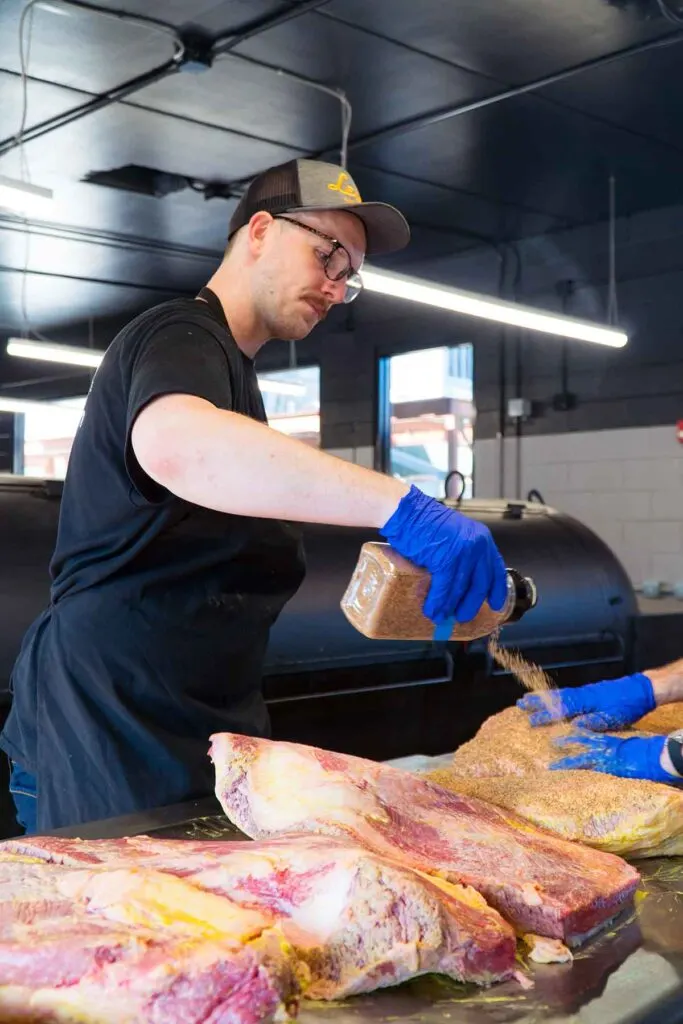
Photo courtesy of Lewis Barbecue. ProBros, photographer.
Binders are thin coatings that help a rub adhere. They often add little to no flavor after a long cook, so their main role is mechanical.
Common choices:
- Mustard: A classic on pork. It creates a tacky surface, brings a bit of acidity that can help bark, and disappears in the flavor of a long smoke.
- Oil: A light coat of neutral oil can help a rub stick to leaner cuts and adds a touch of richness.
- Mayonnaise: Surprisingly effective, especially on chicken and brisket. The fat content improves adhesion and can support a sturdier bark.
You can also skip binders entirely if the meat surface is slightly damp and the rub granules are coarse enough to grip. The key is consistency: whatever you use, apply it in a thin, even layer so it doesn’t pool or turn the rub into sludge.
Storage Strategy
Once the rub is on, storage before cooking matters more than many new pitmasters realize.
- Avoid plastic wrap directly on the rub; it tends to stick and pull the seasoning off when you remove it.
- Place the meat on a wire rack set over a pan so air can circulate underneath.
- Rest the meat uncovered in the refrigerator. This encourages surface drying, which helps bark later.
Goldwyn’s advice is blunt: “Plastic wrap just gets stuck to the rub and pulls it off when we remove the plastic. Liquid also accumulates in the plastic and washes away some of the spices.”
For big cuts, an overnight rest with salt and rub on a rack can make a noticeable difference in color and crust.
Timing: When to Apply Your Rub
Timing depends on cut thickness and your schedule.
- Thin cuts like chicken pieces, pork chops, and steaks can be rubbed and cooked almost immediately, or rested 30 minutes to 2 hours to give salt a head start.
- Thick cuts like brisket and pork shoulder benefit from several hours to overnight with salt already on the meat and the surface exposed to air. The rub can go on early, too, or closer to the cook if you’re managing sugar content carefully.
During any rest in the fridge, keep the meat on a rack, uncovered. You want the outside to dry a little, not sit in a puddle.
Spice Blooming: Advanced Technique
If you want more aroma from your rubs without simply adding more spice, you can “bloom” certain ingredients.
To bloom:
- Heat a dry skillet over medium heat.
- Add whole or ground spices like cumin, coriander, or chili powder.
- Stir constantly for a minute or two until the fragrance jumps out.
- Pull the pan off the heat before anything scorches.
Blooming releases oils and changes some compounds through browning reactions, giving your rub a deeper, warmer flavor. Let the spices cool before grinding or mixing them into your blend.
Commercial vs. Homemade: The Trade-offs

Store-bought rubs are convenient, consistent, and can taste very good, but they have some predictable quirks:
- Many commercial rubs are built on salt, sometimes as much as half the blend by volume.
- Labels don’t always reveal exact ratios, so it’s easy to oversalt enhanced meats.
- Sugar levels can be high, which matters at higher cooking temperatures.
Homemade rubs take a little more effort but give you full control:
- You set the salt level, sweetness, and heat.
- You can tailor blends specifically for pork, beef, chicken, or turkey.
- Batch mixing keeps cost per cook low.
A simple starting formula might be equal parts salt, sugar, and paprika, then spices and heat to taste. From there, you can nudge ratios as you learn how different cuts respond.
Sugar Math: How Sweet It Really Is
Dry rub recipes can look loaded with sugar, especially on paper. The raw numbers often seem worse than what ends up on each plate, so it helps to break it down.
Imagine a pork butt where the rub is about 60% sugar by volume:
- Start with an 8-pound raw butt. After cooking, you might get around 6 pounds of meat.
- Serving generous ½-pound portions gives you 12 servings.
- Say the rub contains about 2.4 tablespoons of sugar in total, roughly 7 teaspoons.
- Divide those 7 teaspoons across 12 servings and you get a little over ½ teaspoon of sugar per serving, mostly concentrated in the bark.
- Rule of thumb: in a big pork butt shared at the table, a sugar-heavy rub often works out to roughly half a teaspoon of sugar per generous serving.
That does not make sugar a non-issue, especially if you cook with sweet sauces as well, but it shows that in the context of a large roast shared at the table, the per-serving amount is often smaller than the recipe’s sugar percentage suggests. This doesn’t replace broader nutrition advice; for daily sugar and sodium targets, see the current Dietary Guidelines for Americans.
Note: These numbers are a rough kitchen estimate, not nutrition or medical advice. If you have specific health or dietary concerns about sugar or sodium, talk with a doctor or registered dietitian rather than relying on recipe math alone.
Dry Rub vs. Other Seasoning Methods
Dry rubs are one tool in a larger toolbox. It helps to understand where they shine and where other methods work better.
| Method | What It Is | Best For | Strengths | Watch-outs |
|---|---|---|---|---|
| Dry rub | Dry mix of salt, sugar, spices, and herbs applied to the surface of the meat. | Low-and-slow barbecue, roasts, ribs, brisket, pork shoulder. | Builds bark and crust, easy to control, doesn’t dilute meat flavor. | Limited penetration beyond what salt can do; can burn if very sugary at high heat. |
| Wet rub (paste) | Dry rub mixed with oil, mustard, or another liquid into a paste. | Uneven or bumpy cuts, smaller roasts, items that need extra adhesion. | Clings very well, helps season nooks and crannies, can add richness. | Heavy layers can soften bark or block smoke contact if applied too thickly. |
| Marinade | Seasoned liquid, usually with acid and oil, used to soak meat for a period of time. | Thinner cuts like chicken pieces, chops, steaks, kabobs. | Good for surface flavor and mild tenderizing, especially in shorter cooks. | Can turn mushy with too much acid or time; does little for crust on its own. |
| Injection | Flavored liquid pumped directly into thick cuts with a meat injector. | Large roasts and birds like pork shoulder, whole turkeys, brisket flats. | Delivers flavor and moisture where rubs and marinades can’t reach. | Easy to overdo salt or flavors; uneven injection can create pockets of intensity. |
In practice, many pitmasters combine these methods. You might inject a pork butt for internal moisture, use a dry rub on the surface for bark, and finish with a glaze or sauce at the end of the cook.
Common Mistakes to Avoid

Even experienced cooks trip over the same few issues with dry rubs. A short list of things to watch:
- Applying rub to wet surfaces: If the meat is dripping wet, rub tends to slide off and bark struggles to form. Pat the surface dry first.
- Over-salting enhanced meats: Many supermarket cuts are already injected with salt solutions. Check labels for terms like “enhanced,” “self-basting,” or “contains up to X% solution” and cut back on added salt or choose a low-salt rub.
- Cooking too hot for your sugar level: High sugar rubs at high temperatures can move from deep brown to bitter in a hurry. Match sugar-heavy rubs with moderate temperatures.
- Wrapping too early: Foil or butcher paper traps steam. Wrap before the bark has set and you’ll soften it. Wait until the crust is firm and dry to the touch.
- Judging a rub before it’s cooked: As Goldwyn points out, “You cannot judge a rub raw. It tastes very very different after cooking. The juices of the meat mix with the herbs and spices, melt them, and they undergo chemical reactions catalyzed by the heat of the fire.”
- Contaminating the rub container: Dipping a “raw meat hand” back into your rub bottle spreads bacteria. Portion out what you need first, then seal the rest.
Pay attention to these details and your rub, however simple or complex, will have a much better chance to do its job.
If you’ve tested your own rub ratios or swapped ingredients to fit a health goal or region, I’d love to hear what worked for you in the comments below.
Dry Rub FAQs
Salt in a dry rub can slowly move inward if you give it enough time, which is why dry brining works. Most other ingredients, like sugar and spices, stay on or near the surface. They mix with meat juices and smoke, then brown and dry out to form bark rather than seasoning the interior.
Salting separately gives you better control. You can match salt to meat weight and thickness, then apply a mostly salt-free rub for flavor and color. This approach helps avoid over-salting enhanced meats and lets you adjust salt at the table without changing your rub recipe.
Thin cuts like chicken pieces or chops can be rubbed and cooked right away or rested up to a couple of hours. Thick cuts such as pork shoulder or brisket benefit from several hours to overnight in the fridge. That timing lets salt work inward and the surface dry for better bark.
Sugar in a dry rub can darken nicely at typical low-and-slow temperatures, but it can scorch at higher heat. If you cook hot and fast, keep sugar levels moderate or add sweet elements later in the cook. Watching both pit temperature and sugar content helps avoid bitter, burnt crust. For more detail on matching sugar levels to your cooking temperature, see the Common Mistakes section above.
Stored in a cool, dry, dark place in a sealed container, most dry rubs stay at their best for several months, but flavor and aroma gradually fade as spices age. Label the jar with the mix date and make smaller batches so you use them while the spices are still bright.
Sources
- Meathead Goldwyn, “The Science of Rubs,” AmazingRibs.com — lab-informed explanation of rub components, penetration limits, sugar math, and dry brining that underpins several sections of this guide
- Meathead Goldwyn, “What Is Bark, and Why It Makes Us Howl for More,” AmazingRibs.com — source for bark science, Maillard reaction, and DRIP/pellicle discussion referenced in the bark section
- Steven Raichlen, BarbecueBible.com author page — credentials behind the “rubs are the basic seasonings of a barbecue” quote from How to Grill and broader seasoning guidance
- Jim Auchmutey, Smokelore: A Short History of Barbecue in America — historical context for Memphis “dry rib” traditions and the rise of dry rubs in American barbecue
- Aaron Franklin & Jordan Mackay, Franklin Barbecue: A Meat-Smoking Manifesto — background on minimalist salt-and-pepper beef rubs and brisket technique referenced in the beef section
- USDA & HHS, Dietary Guidelines for Americans 2025–2030 — general benchmark for sodium and added-sugar intake that informs the salt and sugar guidance in this article
We cite authoritative references and note when testing is based on first-hand experience.
About the author
James Roller documents South Carolina barbecue for Destination BBQ and authored Going Whole Hog. He researches techniques, interviews pitmasters, creates tools, and curates reliable sources so home cooks can cook barbecue safely and confidently at home.
More about James.See something that needs a tweak? Send a correction.
« See All BBQ Terms