Learn how the 3-2-1 method for ribs really works, when to switch to 2-2-1, and the simple feel tests that keep your racks from turning mushy
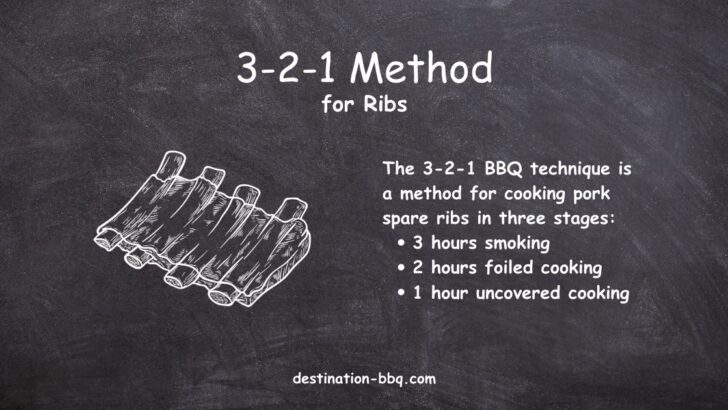
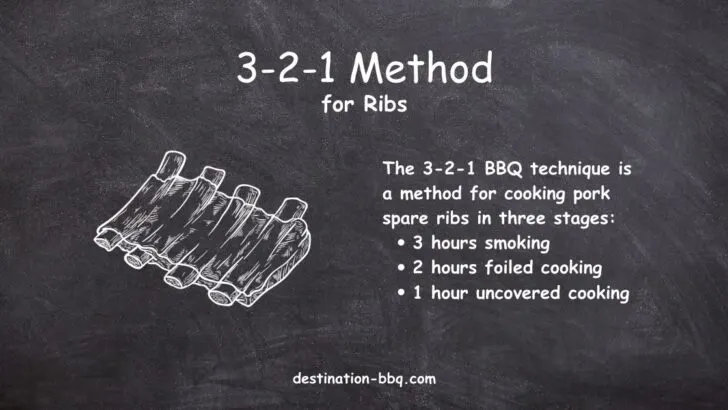
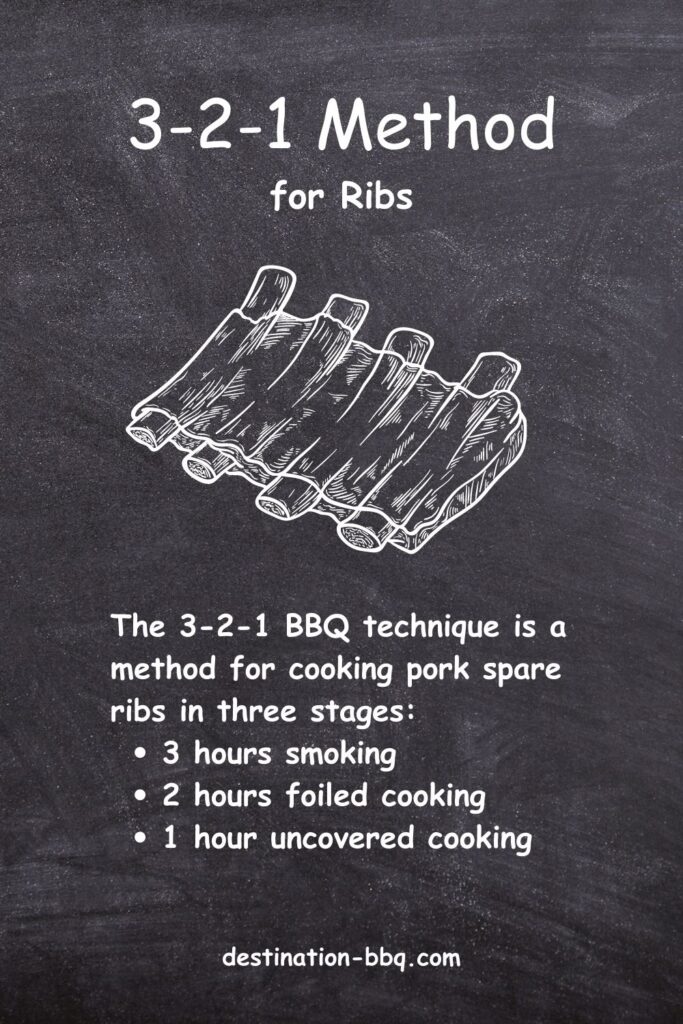
What is the 3-2-1 Method for Ribs?
The 3-2-1 BBQ technique is a method for cooking pork spare ribs in three stages: 3 hours of smoking, 2 hours of foiled cooking, and 1 hour of uncovered cooking. It produces tender, flavorful ribs with a smoky flavor and caramelized crust. By following this method, the ribs are cooked low and slow to achieve a perfect balance of tenderness and taste.
- Pit Temp: 225–250°F steady
- Phase 1 (Smoke): ~3 hours, unwrapped
- Phase 2 (Wrap): ~2 hours (modest liquid, foil or paper)
- Phase 3 (Finish): ~1 hour unwrapped; sauce in last 10–15 minutes if using
- Baby backs tip: Often better as 2–2–1; trust tenderness cues over the clock
Key Takeaways
- The 3-2-1 method (3 hours smoking, 2 hours wrapped, 1 hour finishing at 225-250°F) works best for thick, meaty spare ribs, while baby back ribs often perform better with a shortened 2-2-1 approach since they're leaner and cook faster, making doneness tests like the bend test (45-degree angle) and toothpick test (slides through like soft butter) more reliable than rigid timing.
- The wrap phase choice significantly impacts your final results—foil creates fall-off-the-bone tenderness but can soften bark, while butcher paper preserves bark texture better while still helping ribs push through the stall, so choose based on whether you prioritize extreme tenderness or competition-style bite and bark.
- Common mistakes that ruin 3-2-1 ribs include running the smoker too hot (over 250°F), using excessive liquid or sugar in the wrap, wrapping for too long regardless of doneness cues, and not finishing unwrapped long enough to reset the bark before applying sauce in just the final 10-15 minutes.
- While the 3-2-1 method provides a predictable framework perfect for beginners and meal planning, it's a guideline rather than gospel—adjust timing based on your rib size, smoker characteristics, and preferred texture, always prioritizing feel-based doneness tests over the clock to avoid the over-braised, mushy texture that strict timing can produce.
Understanding the 3-2-1 Method
The 3-2-1 BBQ technique is a popular method for cooking ribs, specifically pork spare ribs or St. Louis Style ribs, on a smoker or a grill. The numbers 3-2-1 represent the cooking time in hours for each phase of the process: 3 hours for smoking, 2 hours for braising, and 1 hour for finishing with sauce. This method is favored by many pitmasters because low and slow indirect heat (think 2-zone grilling) results in tender, juicy, and flavorful ribs with a nice bark on the outside.
Here's a breakdown of the 3-2-1 technique:
- Preparing the ribs: Before you begin, trim any excess fat or membrane (often incorrectly called silverskin) from the ribs and apply a dry rub of your choice. Allow the ribs to sit with the rub for at least 30 minutes or up to overnight in the refrigerator.
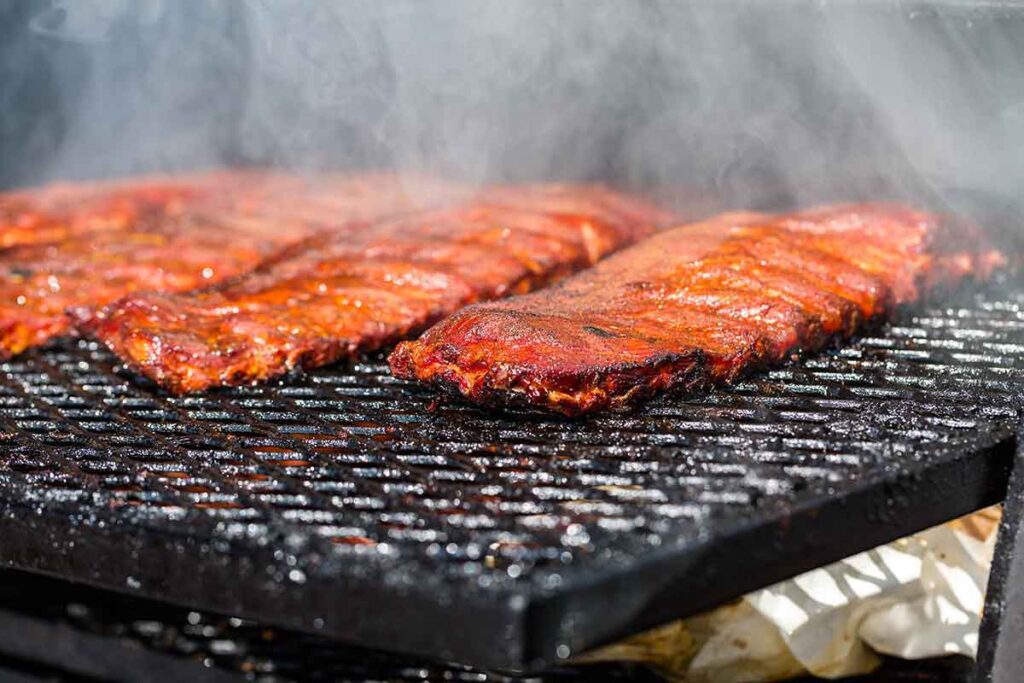
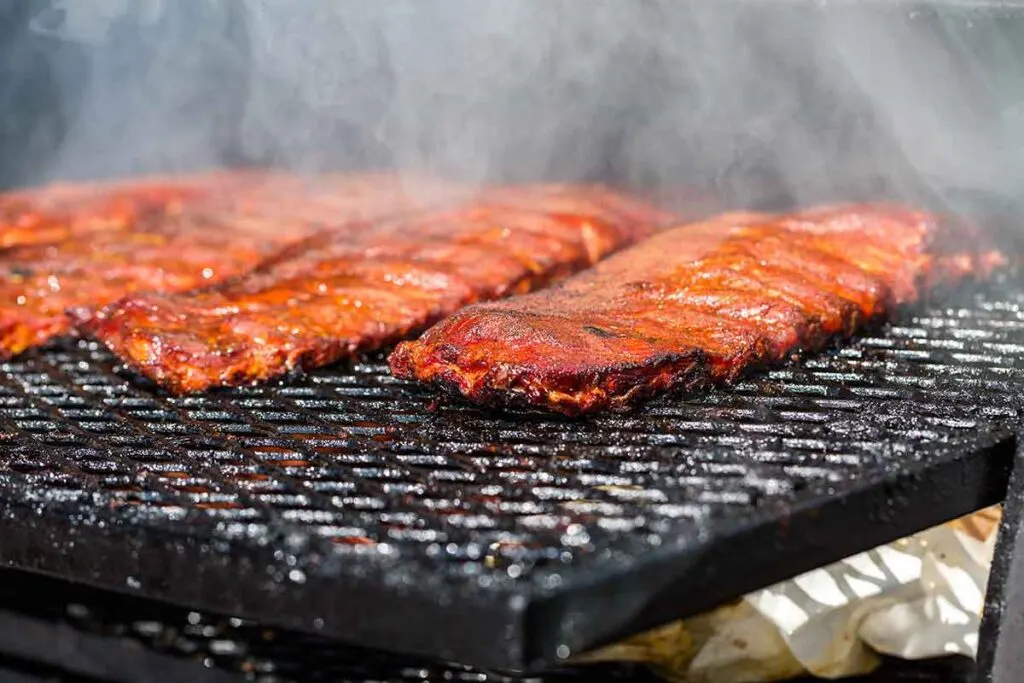
- Smoking (3 hours): Preheat your smoker or grill to a temperature of 225°F (107°C). Place the ribs bone-side down on the smoker or grill grates and cook for 3 hours. During this time, the ribs will absorb the smoke flavor and develop a nice bark on the outside. Aim for thin blue smoke rather than billowing white smoke. Kettle users will often use the Snake Method for keeping a steady temperature.
- Braising (2 hours): After the initial smoking phase, remove the ribs from the smoker or grill. Wrap each rack of ribs in aluminum foil, adding a liquid like apple juice, beer, or a mix of barbecue sauce and water to the foil packet. This helps to tenderize the ribs and adds more flavor. Return the wrapped ribs to the smoker or grill and cook for an additional 2 hours. This wrap (often called the Texas Crutch) helps push through the stall.
- Finishing (about 1 hour): Unwrap and discard the foil/paper and liquid. Return the ribs unwrapped to the smoker or grill for roughly an hour to re-set the bark and tighten the surface. If you’re saucing, brush on a thin coat during the last 10–15 minutes so the sugars don’t burn (leave dry if you prefer a bark-forward rib). Optional: move briefly over direct heat for 30–60 seconds at the very end to tack the glaze—but watch closely to avoiding burning the sugars in the sauce.
- Resting and serving: Once the ribs are done, remove them from the smoker or grill and let them rest for 10-15 minutes. This allows the juices to redistribute throughout the meat, ensuring a tender and juicy bite. Slice the ribs between the bones and serve with additional barbecue sauce on the side if desired.
Remember that the 3-2-1 method is a guideline, and you may need to adjust the cooking times slightly based on the thickness of your ribs or the temperature of your smoker or grill. Always use a meat thermometer to ensure the ribs reach a safe internal temperature of at least 145°F (63°C).
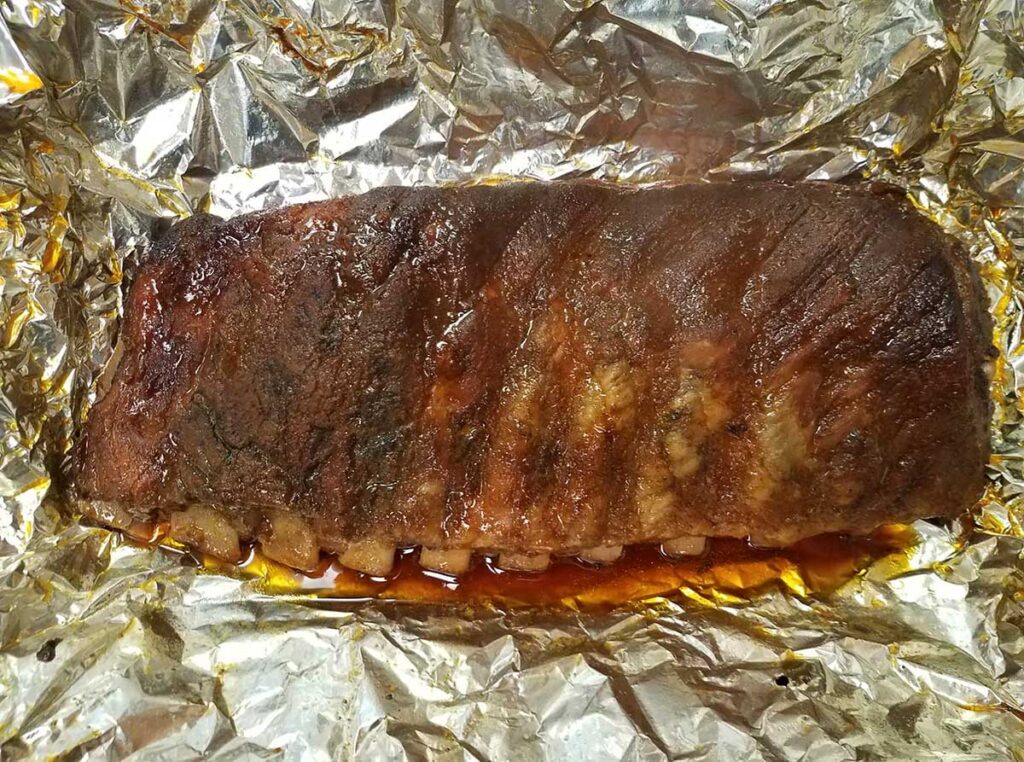

Photo by JRyan Howell.
3–2–1 vs 2–2–1 (Baby Backs vs Spare)
Think of 3–2–1 and 2–2–1 as frameworks, not rules. Spare and St. Louis–cut racks are meatier and fattier, so the longer wrap in 3–2–1 often fits. Baby back ribs are leaner and smaller, so a shorter wrap keeps texture from going soft. Let tenderness tests (bend and toothpick) decide the finish—not the clock.
- Spare ribs: Meatier and fattier—3–2–1 works as a starting point. If bark softens, shorten the wrap or finish unwrapped a bit longer to reset it.
- Baby backs: Leaner and smaller—use 2–2–1 or shorten the wrap phase. Prioritize doneness tests over the timer to avoid over-braising.
Here’s how the common timing templates compare at a glance:
3-2-1 vs 2-2-1 vs 3-1-1 (At a Glance)
Here’s how the common rib timing templates compare at a glance—use these as starting points, then let doneness tests guide the finish.
| Method | Best for | Typical Pit Temp | Wrap Time | Sauce/Finish | Texture Note |
|---|---|---|---|---|---|
| 3-2-1 | Spare ribs / St. Louis–cut; meaty racks; a predictable, beginner-friendly framework | 225–250°F | ~2 hours (foil or butcher paper; modest liquid) | Finish unwrapped ~1 hour; sauce only in last 10–15 minutes (or keep dry) | Very tender; higher risk of softer bark if wrapped long or with lots of liquid |
| 2-2-1 | Baby back ribs; leaner/smaller racks; slightly quicker cooks | 225–250°F | ~2 hours (often lighter wrap/liquid than 3-2-1) | Finish unwrapped ~1 hour; sauce late if using | Tender with better bark vs 3-2-1; trust bend/toothpick tests over the clock |
| 3-1-1 | Firmer-bite ribs or hotter pits; cooks prioritizing bark | 240–260°F (or 225–250°F with a shorter wrap) | ~1 hour (light wrap; paper helps preserve bark) | Finish unwrapped ~1 hour; sauce only at the end | More bark, firmer bite; requires closer monitoring to avoid drying |
Doneness Checks: Bend Test, Toothpick, Probe
While the 3-2-1 method provides a reliable timeline, the best pitmasters know that ribs are done when they feel right, not when the clock says so. Here are three simple tests to determine if your ribs have reached that perfect balance of tender and toothsome.
The Bend Test
Pick up the rack of ribs with tongs at about the center point and lift. Properly cooked ribs will bend to about a 45-degree angle, and you'll see the surface start to crack slightly on the outside curve. If the rack bends too easily or the meat starts pulling apart, they've gone past the sweet spot. If they feel stiff and don't bend much, give them more time.
The Toothpick Test
Insert a toothpick or probe between two bones into the thickest part of the meat. It should slide in with little resistance—like poking into soft butter. If you feel tough resistance or the toothpick drags, the connective tissue hasn't broken down enough yet. This test works especially well during the wrapped phase when you can't rely on visual cues.
The Probe Test
A meat thermometer inserted between bones should read 190°F to 203°F (88°C to 95°C) for properly tender ribs. While pork is safe to eat at 145°F, ribs need the higher temperature to fully break down the tough collagen into gelatin. The probe should slide in easily—if you have to push hard, they need more time regardless of the temperature reading.
Pro tip: Use these tests together rather than relying on just one. Ribs that pass all three tests will have that perfect competition-style bite that pulls cleanly off the bone without falling apart. Remember, every rack of ribs is different, so trust your senses over the timer.
Pros, Cons & Common Mistakes
Like any BBQ technique, the 3-2-1 method has its strengths and weaknesses. Understanding these will help you decide when to use it and how to avoid the pitfalls that can turn great ribs into disappointing ones.
Pros
- Predictable framework: Takes the guesswork out of timing, making it perfect for planning meals and managing multiple cooks
- Good for spare ribs: Works especially well with thick, meaty spare ribs that need the extra time to break down tough connective tissue
- Simplifies timing for new smokers: Gives beginners a reliable roadmap instead of relying on experience and intuition
- Consistent results: When executed properly, produces reliably tender ribs that satisfy most backyard BBQ fans
Cons
- Can over-braise and soften bark: The 2-hour foil wrap essentially steams the ribs, which can turn a beautiful bark mushy
- Less ideal for baby backs without adjustments: Baby back ribs are leaner and smaller, often becoming overcooked with the full 3-2-1 timing
- Risk of "boiled" texture: Extended foil wrapping can create fall-off-the-bone ribs that lack the proper bite and can taste washed out
- One-size-fits-all approach: Doesn't account for different rib sizes, smoker variations, or personal texture preferences
Common Mistakes
- Running too hot: Cooking above 250°F accelerates the process and can lead to tough, dry ribs even with proper timing
- Too much wrap liquid/sugar: Excessive butter, brown sugar, or juice in the foil can make ribs overly sweet and mushy
- Wrapping too soon: Can stall bark development because the Maillard reaction needs a drier surface to keep browning
- Wrapping too long: Sticking rigidly to 2 hours in foil regardless of how the ribs feel or look
- Saucing too early: Adding sauce before the final hour doesn't allow enough time for it to properly caramelize
- Not finishing unwrapped long enough: Skipping adequate time to reset the bark after unwrapping leaves ribs with soggy skin
- Ignoring visual cues: Following the clock instead of watching for proper color development, bark formation, and meat pullback
Remember: The 3-2-1 method is a guideline, not gospel. Adjust timing based on your ribs' size, your smoker's characteristics, and your preferred texture. When in doubt, trust the bend test over the timer.
Foil vs Butcher Paper
When it comes time for the wrap phase, you have two main options, each with distinct advantages.
Foil creates a tight seal that traps steam and moisture, essentially braising the ribs and speeding up the tenderization process—perfect if you want fall-off-the-bone texture, but it can turn a beautiful bark soft and soggy.
Butcher paper is more breathable, allowing some moisture to escape while still helping the ribs power through the stall (that frustrating plateau where internal temperature seems to stop climbing). This preserves more of your hard-earned bark while still accelerating the cook.
If you're new to the 3-2-1 method, start with foil for predictable results, then experiment with butcher paper once you've mastered the timing. For competition-style ribs with a firmer bite and better bark, butcher paper is often the preferred choice among serious pitmasters.
Additional Points
Here are a few additional points that you might find useful to know about the 3-2-1 BBQ technique:
- Adjustments for Cooking Times: The 3-2-1 method serves as a guideline, but cooking times can vary depending on the size of the ribs, the temperature of the smoker or grill, and personal preference. It's essential to adapt the cooking times accordingly. For example, if you prefer more bite to your ribs, you can try 2-2-1 (2 hours of smoking, 2 hours wrapped, and 1 hour unwrapped) for a shorter cooking duration.
- Smoking Wood Selection: Choosing the right wood for smoking can significantly impact the flavor of your ribs. Popular choices for pork ribs include stronger hardwoods like oak and hickory or fruitwoods like apple or cherry, which provide a mild and sweet smokiness. Experimenting with different wood flavors can add variety to your BBQ experience. See our Wood-Meat Pairing guide for ideas.
- Resting and Slicing: Once the ribs are fully cooked, it's crucial to allow them to rest for a few minutes before slicing. This resting period helps the juices redistribute, resulting in more succulent and flavorful meat. When slicing the ribs, you can cut them between the bones for individual servings or leave them as whole slabs for a rustic presentation.
- Additional Seasoning and Rubs: While the 3-2-1 technique itself imparts great flavor, you can enhance it further by applying additional seasonings or rubs to the ribs. These can be dry rubs, wet marinades, or a combination of both. Feel free to experiment with different flavors to create a profile that suits your taste preferences.
- Adaptability to Different Ribs: Although the 3-2-1 technique is commonly associated with pork spare ribs, it can be applied to other rib cuts as well, such as baby back ribs or beef ribs. However, it's important to note that cooking times and temperatures may need to be adjusted depending on the specific cut of ribs being used.
Practice makes perfect when it comes to BBQ, so don't be afraid to experiment, adapt, and find the cooking method and flavors that work best for you.
3-2-1 Method: FAQ
Yes, but baby backs are leaner and smaller, so many cooks shorten the first two phases. A common tweak is 2-2-1 (smoke 2, wrap 2, finish 1). Watch for tenderness: if a toothpick slides in with little resistance and the rack bends cleanly, you’re there—don’t keep cooking just to match a clock. (For safety, pork is done at 145°F; tenderness arrives higher.)
Most cooks run 225–250°F for predictable results. Lower keeps smoke exposure longer; slightly hotter tightens timelines and bark. If your ribs feel soft after the wrap, finish unwrapped a bit longer to reset the bark before saucing.
Foil traps steam and tenderizes faster (risk: softer bark). Butcher paper breathes, protecting texture while still speeding the cook. Use foil if you want “fall-off-the-bone”; choose paper if you prefer a firmer bite and better bark.
Use feel: the bend test (rack bends about 45° and surface starts to crack) and the toothpick test (slides in with little resistance). Thermometers help with safety (145°F), but tenderness for ribs usually appears nearer 190–203°F as collagen melts.
Usually it’s too long in foil, excessive liquid/sugar in the wrap, or a pit that ran hotter than planned. Shorten the wrap phase (or switch to paper), use modest liquid, and finish unwrapped longer to set the bark before saucing.
About the author
James Roller documents South Carolina barbecue for Destination BBQ and authored Going Whole Hog. He researches techniques, interviews pitmasters, creates tools, and curates reliable sources so home cooks can cook barbecue safely and confidently at home.
More about James.See something that needs a tweak? Send a correction.
« See All BBQ Terms