Learn how to keep wings hot and crispy for 30 to 180 minutes using low-oven racks, a quick re-crisp pass, and toss-to-order saucing
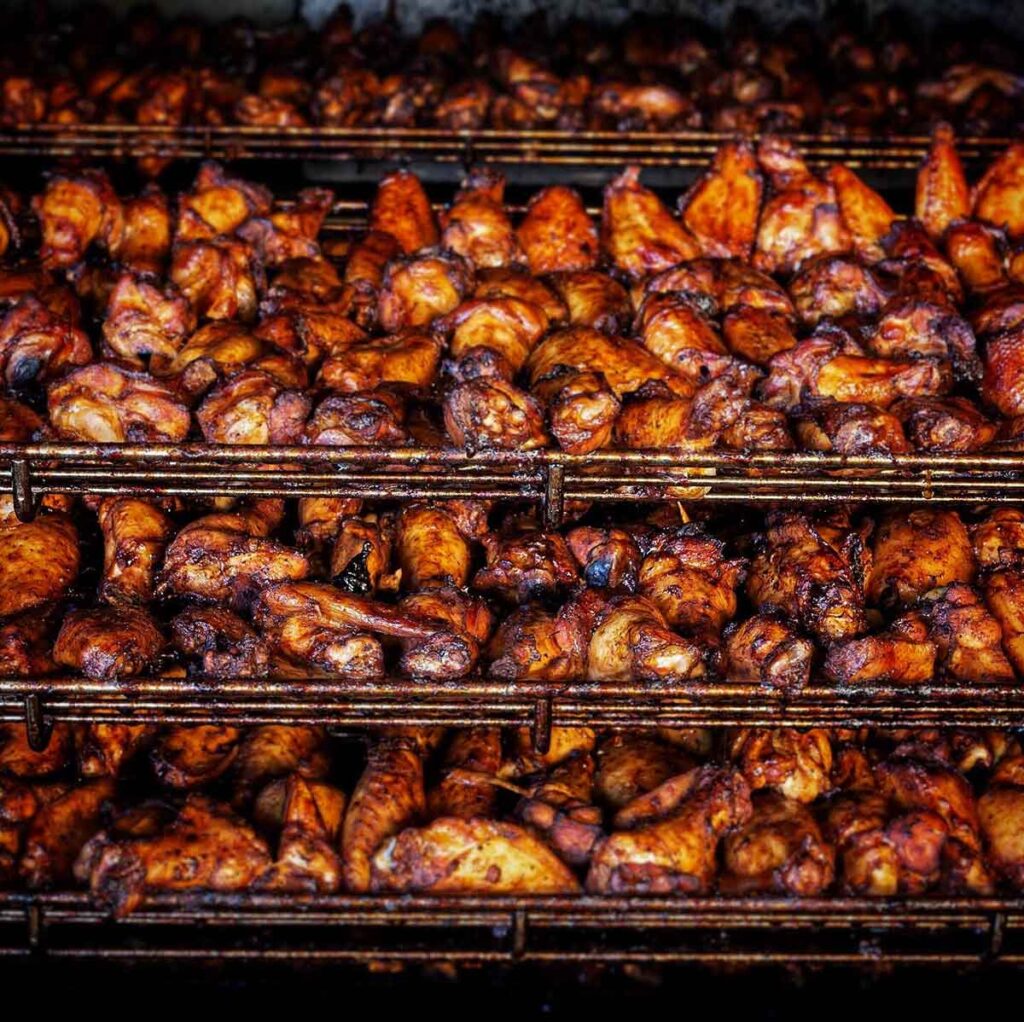
Wings are easy to cook and easy to ruin after they come out of the fryer, smoker, oven, or air fryer. The moment you cover them, stack them, or park them in a steamy pan, the skin softens fast.
This guide is the “What now?” step after you’ve figured out how many wings to buy. If you have not run the numbers yet, visit our Chicken Wing Calculator, or if you need help figuring out the best types of wings to get for your situation, see our wing buying guide.
Now let’s solve the real party problem: keeping wings hot and crispy long enough that people can graze, you can serve in waves, and you are not stuck cooking nonstop until the fourth quarter.
How we built this guide: We’ve cooked and held wings for parties for years, and the repeat problem is always the same: steam softens the skin. This guide combines that real-world experience with published guidance on holding and saucing timing, plus government food-safety standards for time and temperature (linked below). Where we cite other methods, we’re relying on the source’s published guidance and the same underlying principle: reduce steam, keep airflow, and sauce to order.
Quick-start wing holding plan
- Stop the steam first: Put wings on a rack for 5 to 10 minutes right after cooking
- Hold on racks, not in pans: Single layer with a little space between wings
- Low oven hold: Set oven to 160°F to 200°F and hold wings uncovered (if you cover, leave a gap for steam to escape). For long holds, spot-check the thickest wing and aim to keep the batch at 140°F+.
- Sauce last: Toss only what you’re serving right now (use a two-tray system: dry tray + tossed tray)
- Serve in waves: Keep the main batch in the oven and refresh smaller platters as needed
- Re-crisp before a new platter: 375°F to 425°F oven (or air fryer) for a quick reset if skin softens
- Leftovers safety: Reheat leftover wings to 165°F and verify with a thermometer
The core rule: crisp skin hates steam. Racks + airflow + sauce-to-order fix most party wing problems.
If you’re still deciding how to cook them, see wing methods compared for oven vs fryer vs grill vs smoker planning. And understand that holding works best when wings were finished in the right wing temp zones first.
The one rule that keeps wings crispy
Crisp skin hates steam. That is the whole story.
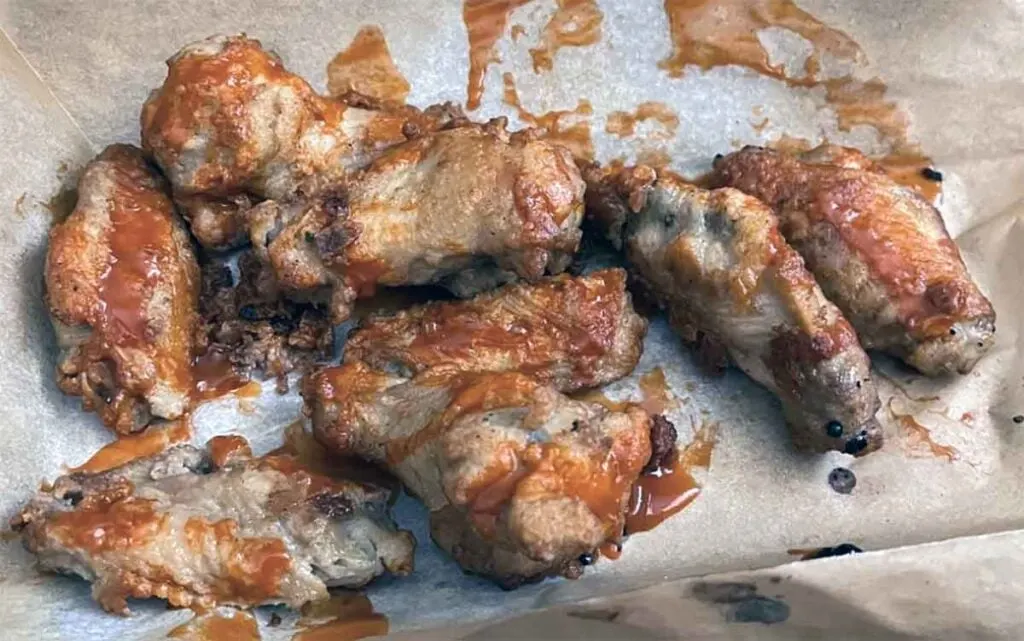
When wings sit against a flat pan, or get covered tightly, moisture has nowhere to go. It condenses, then the skin turns soft. Not exactly an appetizing bite:

Epicurious notes that lifting food on a rack helps because air can move around it and moisture can drip away instead of steaming underneath.
Keep this simple mantra in your head:
- Rack: get wings up off the pan
- Single layer: no piles, no deep pans of wings
- No tight cover: vent your foil, or skip covering entirely
If you do those three things, you can often hold wings well without turning them leathery or limp.
Choose your time window
Use this chooser like a decision tree. Pick the first scenario that matches your party and follow the plan.
Choose your time window
Pick the closest match, then use the jump link for steps. Holding results depend on oven behavior, wing size, and crowding. Use these windows as planning ranges, and plan a quick re-crisp “reset” when holding longer. The rule under all of them stays the same: rack, single layer, no tight cover.
- Serving at a specific time: Use a simple timeline to stop steam, hold hot and dry, then sauce to order Jump
- Serving in 15 to 30 minutes: Let wings stop steaming on a rack, then hold low and dry until you are ready to serve Jump
- Holding 30 to 90 minutes: Rack + low oven, uncovered, and toss only the batch that is hitting the platter now Jump
- Holding 90 to 180 minutes: Hold low on racks, then plan one quick re-crisp pass before each new wave Jump
- Transporting wings to another house: Use a vented cover, spread out on arrival, re-crisp, then sauce Jump
- Wings went soft and need rescuing: Get them out of the covered pan, onto a rack, then use dry heat to bring back the skin Jump
Serving at a specific time
Use this when you want wings hitting the table at a specific time (party start, dinner, or kickoff). Adjust by batch size and your cooking method, but keep the same rhythm: stop steam, hold hot and dry, then sauce to order.
- 60–75 minutes before serving: Finish cooking the main batch. Move wings to a rack for 5 to 10 minutes so surface steam can escape.
- 50–60 minutes before serving: Set up the hold: sheet pan + wire rack. Preheat oven to 160°F to 200°F (lowest steady setting that keeps wings hot).
- 15–50 minutes before serving: Hold wings uncovered in a single layer on racks. Rotate pans if you’re using more than one.
- 10–15 minutes before serving: Prep serving: warm sauce, set up the two-tray system (dry tray + tossed-to-order tray), and pull out your first platter.
- 5–10 minutes before serving: If needed, do a quick re-crisp pass (375°F to 425°F oven or air fryer) to reset the skin before the first wave.
- At serving time: Toss only what you’re putting out now. Keep the main batch in the oven and refresh smaller platters in waves. Check how much sauce for wings so you’re not guessing.
Tip: If wings start to soften, it’s almost always steam or crowding. Spread them out on racks and use dry heat to reset.
Cooking method note: If you want a reliable baseline cook before you start holding, use our smoked wing recipe, then come right back to the holding plan above.
Serving in 15 to 30 minutes
Your goal is to stop steaming, then keep them hot without drying them out.
- Spread wings on a rack over a sheet pan for 5 to 10 minutes right after cooking so surface steam can escape
- Move to a low oven hold (details below) while you set out sauces and sides
- Sauce only what you are about to put on the table
Food safety note: If wings will sit out, follow the 2-hour rule (1 hour above 90°F) and keep hot wings at 140°F+ during holding. See Food safety notes.
Holding 30 to 90 minutes
For many game day parties, this is the easiest window to manage.
- Use the rack + low oven method as your default
- Keep wings dry, uncovered, and single-layer
- Run a two-tray sauce system so only a smaller batch gets tossed at a time
Southern Living explicitly recommends holding finished wings on a wire rack in a 200°F oven while finishing batches.
Holding 90 to 180 minutes
This is doable, but you have to accept a tradeoff: you are running a holding system, not a “set it and forget it” situation.
Plan on one refresh moment:
- Hold on racks in a low oven
- Right before serving, do a quick re-crisp pass (oven or air fryer)
- Toss in sauce right before the platter hits the table
For longer holds, use a thermometer to confirm you are keeping wings hot. Government guidance commonly uses 140°F as the “keep hot foods hot” threshold.

Transporting wings to another house
Transport is where wings go to die, because the instinct is to seal them up “to keep them hot.” That sealed container traps steam and softens everything.
Your transport goal is different: vented warmth, not trapped heat.
- Use a sheet pan with a rack if you can, or put a rack in any sturdy pan
- Tent foil loosely so there is a gap for steam to escape
- Do not stack wings in a deep covered roaster if you care about crisp skin
- On arrival, immediately spread wings out, reheat as needed, then sauce
Foil tray reality check
If you have to use a foil pan, you can keep wings warm, but crisp skin will fade fast if steam gets trapped. Your goal is not “seal it tight.” Your goal is “keep them warm while letting steam escape.”
- How to vent it: Lay foil over the top loosely and leave a small gap along one long side (or tent the foil so it does not touch the wings). Avoid a tight crimped seal.
- How long it buys you: Think “short transport window.” If the lid is tight, you’re basically steaming the wings and the skin will soften quickly.
- How to rescue on arrival: Immediately spread wings into a single layer on a rack, then re-crisp at 375°F to 425°F for a quick reset, then sauce right before the platter hits the table.
If you care about crisp, treat the foil pan as a temporary warmer, not the serving container.
If your drive is long or the destination is hot (summer tailgate), remember the 2-hour rule and the 1-hour rule above 90°F for getting food back under temperature control. See Food safety notes.
Wings went soft and need rescuing
You can save them. You just have to reverse the conditions that made them soft.
- Get them out of the covered pan or bowl
- Spread them in a single layer on a rack
- Hit them with dry heat (oven, air fryer, or broiler)
- Sauce after they are crisp again
If these are leftovers, reheat to 165°F and verify with a thermometer before serving. See Food safety notes.
Use this quick comparison table to choose a holding method that fits your time window:
| Method | Best for | Crisp result | Holding window | Key setup rule | Watch-outs |
|---|---|---|---|---|---|
| Rack + low oven | Most parties and most batch sizes | Best overall when the wings stay uncovered | 30 to 90 minutes, with a re-crisp pass if needed | Keep wings in a single layer on racks with no tight cover | Rotate pans for hot spots and verify wings stay at 140°F or above |
| Low oven + re-crisp pass | Longer parties where wings need a final texture reset | Very good after a short high-heat finish | 90 to 180 minutes | Hold low, then finish hotter right before serving | Requires an extra step; do not sauce the wings early |
| Air fryer in batches | Small groups or small batches | Excellent per batch | Best as a re-crisp tool, not a long hold | Leave space between wings and use short rounds | Capacity is limited, and wings can overcook if left too long |
| Covered foil pan | Keeping wings warm when crisp skin is not the priority | Poor because trapped steam softens the skin | Short only | Vent the cover if you have to use foil | Moisture builds up fast, so plan a rescue re-crisp if texture matters |
| Slow cooker on warm | Keeping sauced wings warm | Poor for crisp skin | Short only | Keep sauce separate when possible | The moist environment softens skin; re-crisp before serving if texture matters |
| Indirect grill hold | Keeping the oven free | Good if the wings stay elevated | 30 to 60 minutes | Use indirect heat with wings on a rack or raised grate | Watch for temperature swings and flare-ups if drippings hit the flame |
Best default method for most parties
This is the method that works in a normal kitchen with normal gear. It is also forgiving. If you follow the rack and airflow rules, you can hold wings while you finish other food, answer the door, or actually watch the game.
Rack + low temp oven holding method

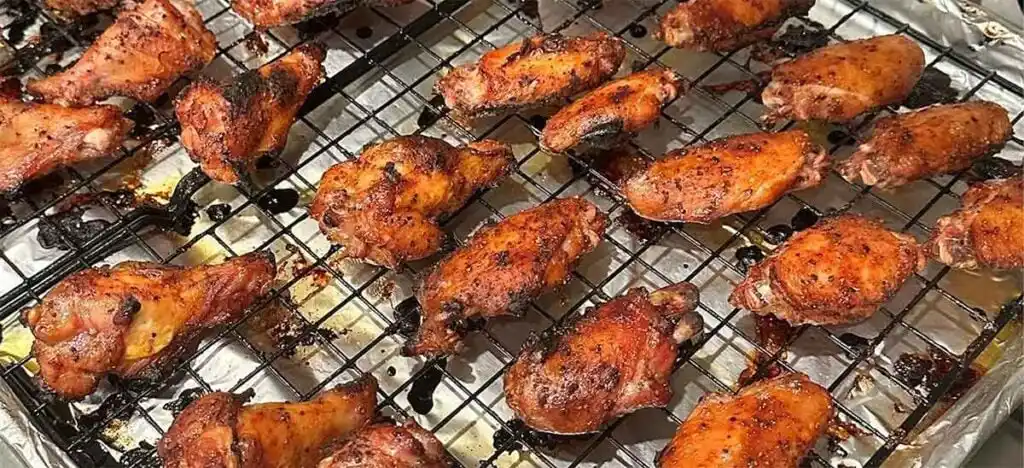
What you need
- Rimmed sheet pan (or two)
- Oven-safe wire rack that fits the pan
- Instant-read thermometer (or any reliable probe thermometer)
- Foil (optional, for lining the pan under the rack)
Step-by-step
- Let the wings stop steaming
When wings come off the heat, spread them on a rack for 5 to 10 minutes. This is the most skipped step, and it matters. You are letting surface steam escape before you put them into a holding setup. - Preheat the oven low
A low holding oven is the goal. Set your oven to its lowest steady setting that keeps the wings hot and hold wings uncovered on a wire rack so air can circulate. Note: Many ovens swing in the 170–200°F range. If you’re holding longer than 30 minutes, verify the hold setup keeps wings at 140°F+ internal temp by using a thermometer.- If you have a choice, Southern Living notes that 200°F is a practical hold setting that shows up in wing guidance for keeping batches warm.
- If your oven runs hot, you can go lower, but do not treat this like “warming in an off oven.”
- Set up the rack correctly
Put the wire rack inside the sheet pan. Line the pan with foil under the rack if you want easier cleanup.- Why a rack matters: it elevates the wings so air can circulate and moisture does not collect under them.
- Hold uncovered and single layer
Place wings in one layer with a little space between them. Do not cover tightly. A tight cover traps steam and softens skin. - Rotate if you are holding a lot
If you are using multiple pans, rotate their positions every so often. Many ovens have hot spots. - Keep an eye on temperature
For parties, you want wings to stay hot. FoodSafety.gov’s consumer guidance says keep hot foods at 140°F. If you are unsure your oven is actually holding them hot, check one wing in the thickest part.
Optional pre-cook prep for crisp that lasts longer
If you know you’ll be holding wings for a while, start with skin that is built to stay crisp. In a Serious Eats post, J. Kenji López-Alt describes a simple approach for oven-style wings: a light toss with aluminum-free baking powder and salt, then an uncovered rack-dry in the fridge before cooking.
- Best for: Oven wings and air fryer wings (especially when you need crisp skin to survive holding)
- Rack-dry overnight: Spread wings on a wire rack over a sheet pan and refrigerate uncovered for 8 to 24 hours (4 to 8 hours helps if that’s all you’ve got)
- Optional note: In a newer video version of this method, López-Alt also adds cornstarch along with the salt and baking powder to help the exterior stay dry.
- Why it works: Drier skin going into the cook means less steam coming off during holding, so the crisp lasts longer
- Common mistakes: Don’t stack wings, don’t cover them in the fridge, and don’t dry them on a flat plate (those trap moisture and undo the point)
If you are salting a big batch, the brining calculator helps you keep it consistent. After the dry time, cook wings in a single layer (rack in the oven, or space in the basket), then move them into your holding setup uncovered on racks so the crisp you built doesn’t get steamed away.
We have a growing list of handy calculators, planners, and tools. The BBQ Tools Hub rounds them all up in one place.
Sauce strategy that protects crisp

Sauce application is often the moment crisp skin dies. That is why the best wing systems treat sauce as a finishing step, not a holding environment.
Martha Stewart’s wing guidance is direct: keep wings warm in a low oven, then toss in sauce just before serving to prevent sogginess. Southern Living also calls “saucing too early” a common mistake.
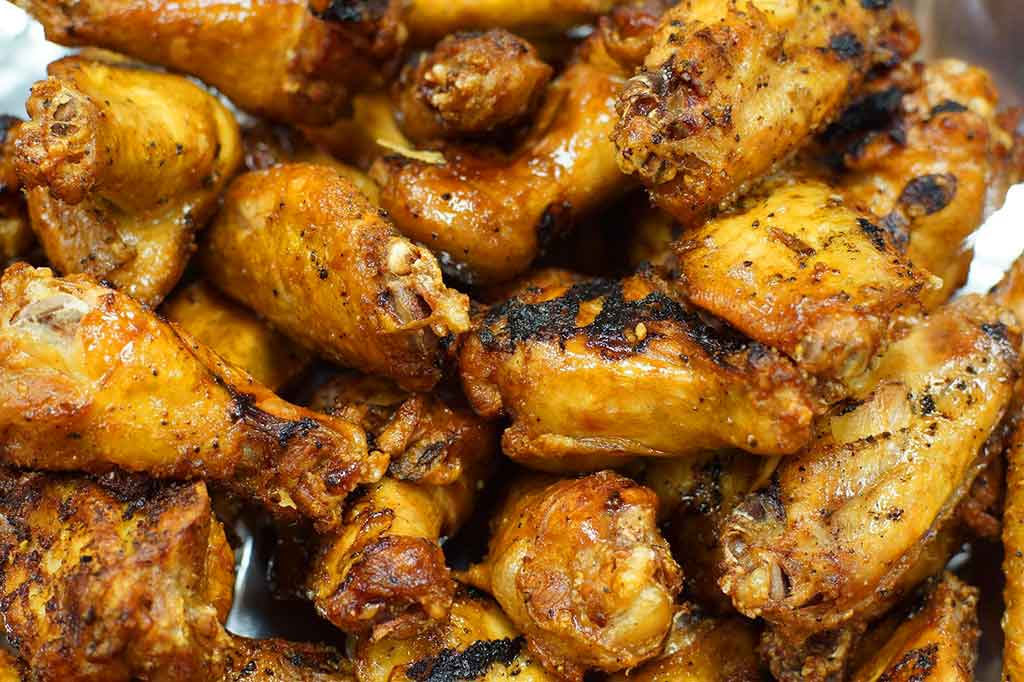
The two-tray system
Set up your serving like this:
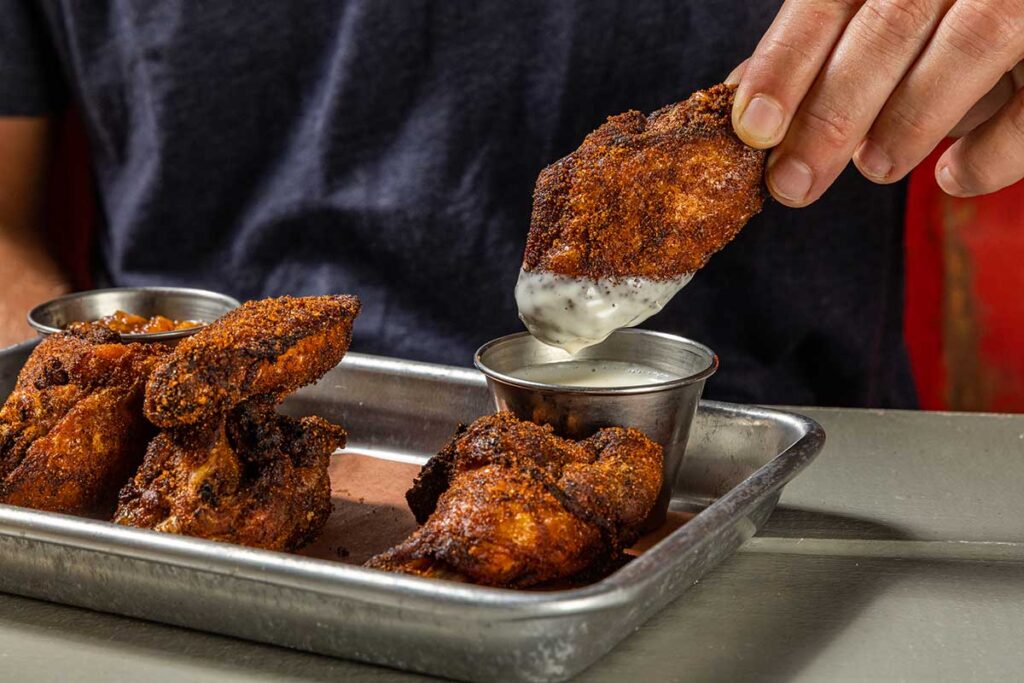
- Tray 1: Crispy tray
Wings come out of the holding oven and go to this tray dry. Sauce stays off. This tray is your “crisp insurance policy.” - Tray 2: Tossed-to-order tray
You toss a smaller batch in warm sauce and put it out. When it empties, you toss another small batch.
This solves three common party problems:
- People who want extra crisp can grab from Tray 1 and dip
- Sauced wings do not sit long enough to soften into sadness
- You can serve in waves without rushing a huge toss all at once
“If you’re hosting, the wing party timeline shows when to cook, hold, sauce, and put out the next tray.
Warm sauce so it does not cool wings
Cold sauce can drop the wing temperature fast. Warm sauce also coats more evenly.
Simple options:
- Warm sauce in a small saucepan on low
- Microwave it in short bursts and stir
- Keep it in a small covered bowl near the oven vent, not on the cold counter
The goal is not “hot sauce.” The goal is “not fridge-cold sauce.”
Quick way to choose: pick one thinner sauce for dipping on the crispy tray, and one thicker sauce for small-batch tossing.
If you want a few sauce options that fit this system:
- vinegar-pepper BBQ sauce for a thin toss or a dip on the crispy tray
- mustard BBQ sauce when you want something thicker but still bright
- sweet BBQ sauce for sticky wings (warm it first, then toss small batches)
Transport and arrival plan

If you are bringing wings to another house, most of your success comes from what you do in the first five minutes after you arrive.
Transport rules that protect crisp
- Vent the cover: tent foil loosely, do not seal
- Avoid deep stacks: stacking is steam and pressure
- Keep them on a rack whenever possible
- Sauce stays separate until you are ready to serve
If someone insists on putting wings into a deep covered container “to keep them hot,” you can still recover them later. It just means you will use the rescue plan when you arrive.
Arrival sequence
- Spread out immediately
Get wings into a single layer on racks. This stops the steaming cycle. - Heat, then crisp
If they are already hot, you might only need a short re-crisp. If they cooled a lot, reheat fully first. - Sauce last
Toss only what you are serving right now.
Re-crisp playbook
This is your reset button. Use it when wings have softened, when you are moving from “holding” to “serving,” or when you are reviving leftovers.
Food safety: As mentioned above, USDA guidance notes that leftovers should be reheated to 165°F and verified with a food thermometer.
Oven method for volume
Best when you have lots of wings and want consistency.
- Heat oven to 375°F to 425°F
- Put wings on a rack over a sheet pan in a single layer
- Reheat until hot, then push the heat up briefly if you need more surface crisp
- Check the thickest wing and confirm 165°F if these are leftovers
Tip: if wings seem like they are drying before they crisp, you are usually too low on heat or you have crowded the pan. Airflow is the fix.
Air fryer method for small batches
Best when you only need to revive a plate at a time.
- Preheat air fryer if your model benefits from it
- Arrange wings with space between them
- Heat in short rounds, shaking once
- Confirm 165°F for leftovers before serving again
This method is hard to beat for crisp, but capacity is limited. That is why the oven is your volume tool and the air fryer is your “quick rescue” tool.
Broiler finishing move
Best when wings are already hot but need surface snap.
- Put wings on a rack under the broiler
- Watch constantly
- Flip once
- Pull as soon as they crisp, because broilers go from “better” to “burned” fast
Broiling is also a useful “last 2 minutes” move when a big tray looks pale.
Troubleshooting

The problems below are the ones that show up in real parties. Fix the cause, not just the symptom.
| Problem | Likely cause | Fast fix | Prevention next time |
|---|---|---|---|
| Skin went soft | Steam from a tight cover, stacked wings, or a flat pan | Spread wings on a rack, then re-crisp with high heat | Use a rack, keep wings in a single layer, and cover only with a vented setup |
| Wings dried out | Held too hot for too long, or reheated more than once | Hold lower, then crisp right before serving | Use a low hold plus a short re-crisp, and serve in smaller batches |
| Sauced wings turned soggy | Sauce was added too early | Re-crisp the wings dry, then toss a fresh small batch | Use a two-tray system and sauce wings right before serving |
| Wings cooled on the table | The platter was too big or sat out too long | Swap in a smaller hot platter more often | Keep the main batch in an oven hold, then refresh the platter in smaller rounds |
| Greasy underside | No rack, so drippings pooled under the wings | Move wings to a rack setup, blot if needed, then re-crisp | Elevate wings on a rack so air can move and drippings can fall away |
| Holding setup feels steamy | Covered pan, crowded wings, or a cover that is not vented | Uncover, spread wings out, and raise the heat briefly to dry the surface | Keep wings in a single layer, and avoid tight lids or sealed foil |
Food safety notes
These are the key time and temperature rules to keep party wings safe:
The danger zone and the clock
Food safety guidance commonly describes the “danger zone” as 40°F to 140°F, where bacteria can multiply quickly.
CDC guidance is also clear on time:
- Do not leave perishable foods out more than 2 hours.
- If the temperature is above 90°F, get it back under temperature control within 1 hour.
Food safety guidance on this page is based on current USDA/CDC consumer recommendations linked below.
Hot holding and reheating
For parties, the most practical approach is: keep wings hot in a low oven on racks, serve in smaller waves, and do a quick re-crisp before a new platter. If you are reheating cooked wings again, aim for 165°F and confirm with a food thermometer.
Need the shopping list and wing count for your group? Use our Chicken Wing Calculator.
Keeping Wings Hot and Crispy FAQs
Covering tightly traps steam and softens the skin. For holding, keep wings uncovered on a rack whenever possible. If you must cover (splatter or transport), tent foil loosely so moisture can escape. If wings start going soft, uncover, spread into a single layer, and give them a short high-heat re-crisp before serving.
Use your oven’s lowest steady setting that still keeps wings hot, usually 160°F to 200°F, and hold them on a rack in a single layer. The goal is warm, dry air flow, not sealed heat. If you’re holding longer than 30 minutes, spot-check a wing and aim to keep hot-held wings at 140°F or above.
For most parties, 30 to 90 minutes is the easiest window using rack + low oven. 90 to 180 minutes can work, but plan a reset: hold low on racks, then do a quick 375°F to 425°F re-crisp right before each new platter. Sauce only what you’re serving now so crisp skin does not sit in moisture.
Use dry heat plus airflow. For a big batch, reheat wings on a rack in the oven and finish hotter if needed to restore surface crisp. For small batches, an air fryer is the quickest crisp reset. If these are leftovers, reheat to 165°F and verify with a thermometer before serving.
Yes, if you plan for a crisp reset. Cook wings, then cool quickly and refrigerate within 2 hours (or 1 hour if it’s above 90°F). When it’s time to serve, reheat on a rack until hot, then re-crisp briefly at higher heat if needed. Keep sauce separate and toss right before serving.
Sources and further reading
Food safety (time & temperature)
- FoodSafety.gov: 4 Steps to Food Safety (consumer food safety basics)
- FoodSafety.gov: Hot and cold holding (140°F+ hot holding guideline)
- USDA FSIS: Danger Zone (40°F–140°F)
- USDA FSIS: Leftovers and Food Safety (reheat to 165°F)
- CDC: Food safety prevention guidance
Technique and crisp-skin mechanics
About the author
James Roller documents South Carolina barbecue for Destination BBQ and authored the SC BBQ cookbook Going Whole Hog. He researches techniques, interviews pitmasters, and he and his wife Heather have cooked and served wings for home gatherings for years, focusing on practical, low-stress ways to keep food hot, safe, and worth eating.